This time I would like to thank PapaJJ for the shout out on his blog. He was kind enough to show a lot of pics of some terrain rubble bases I made for him some months ago.
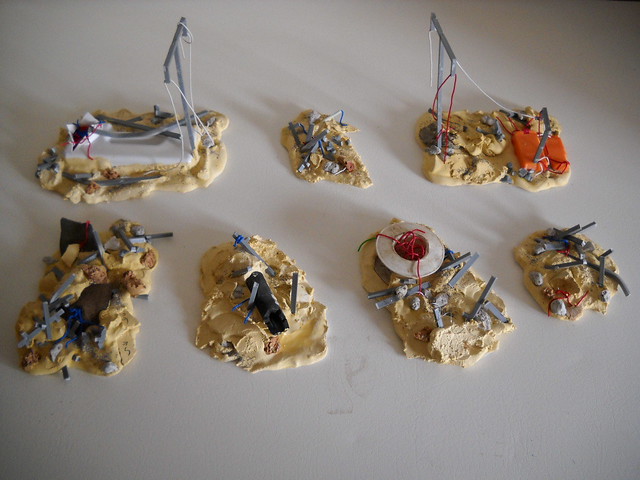
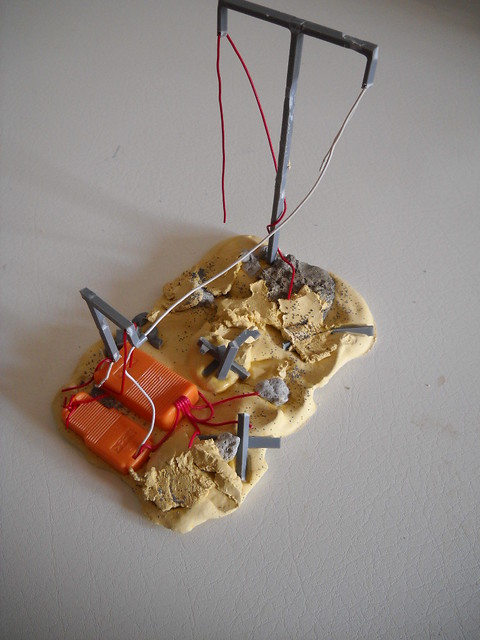
Everything begun with him letting everybody know he would ruin all his remaining bits from the modular movement trays he used for the Sector7G. I hit the ceiling and told him I would like to buy all those bits. The GW modular movement trays have enough corner pieces to put 2 per tray. I always liked how the MMT looked with 4 corners, but couldn't find anyone to sell me the bits I needed. I was going to cut some straight pieces in 45° to make some corners. That was when PapaJJ said he will make some rubble bases using those bits. The thing is, after knowing my idea for the pieces, he offered me all his bits, for free. I was going to buy them, and he was so kind that offered them to me for free!! I said at least I should have paid the shipping and handling but he refused. Then was when I came out with the idea of the exchange. I would make rubble bases for him and he'll give me the bits I wanted so much. That's how I ended making this:
You can see some beautiful pics of these terrain with the Haverbrook 212th Grenadiers from PapaJJ, on his latest entry. All the instructions I received from PapaJJ for his terrain, were the measures of the pieces: "2x3 or 3x5 would work well, and somewhere in the range of 1 to 3 inches tall". So, I had almost no restrictions and let my imagination fly away! xD
Let me explain how easy is to make this sort of scenery using plaster. First is to buy some plaster. For this project I used som rock hard gypsum. In dentistry we normally use plaster of paris, the white and common gypsum. There is also some harder plaster, that we call stone plaster. No idea how it's called in the US od another countries, but in any dental store you'll be able to buy thise and another kinds of plaster. Something better, even harder it's the artificial stone plaster (I think americans call it that way). Any of the alternatives will be good enough. I selected the stone hard plaster, because the terrain needed to fly to the US.
To make this you need some plastic sheet, or anything plastic and plain. You'll also need some rests of previous preparation of plaster.
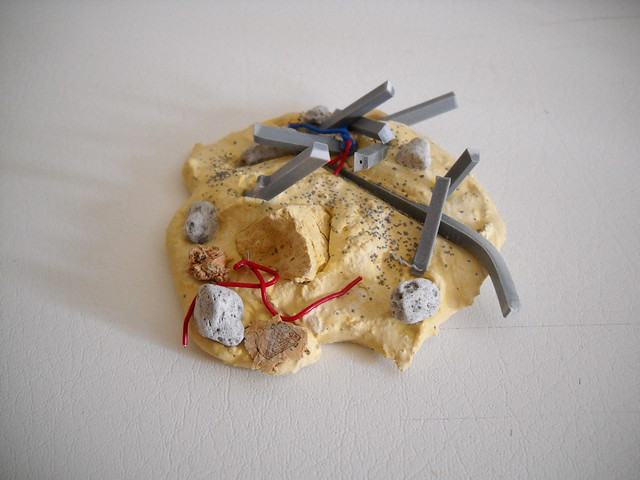
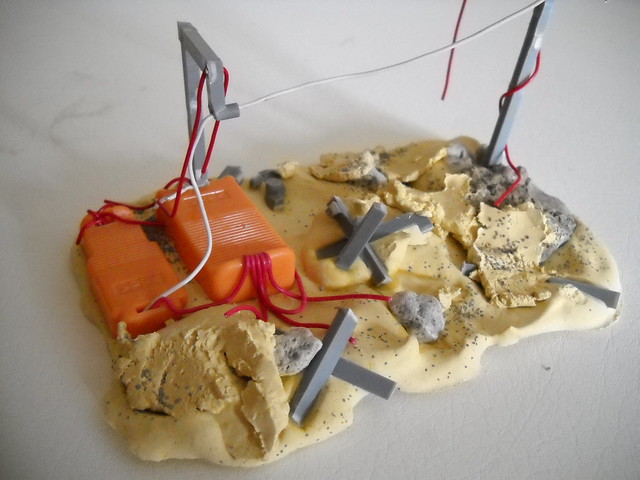
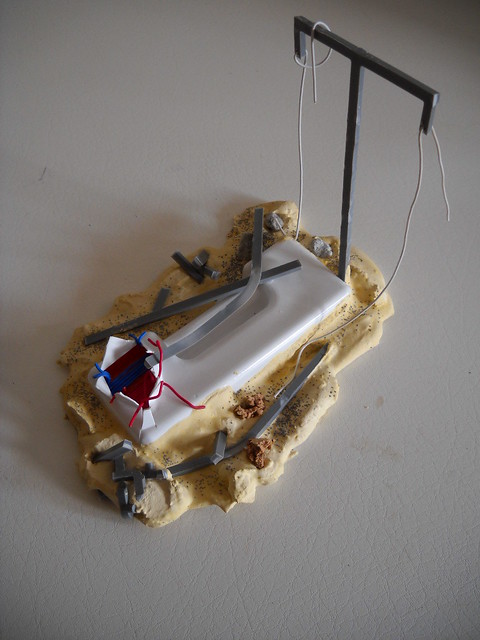
Please take a look at the plaster "rocks" from the above picture. That clump of plaster came from the reminings of previous plaster preparations. For the metal bars I used leftovers from the sprues, clipped and filled to look plain. Painted with metallics paint could look like metal bars, bended and/or rusted.
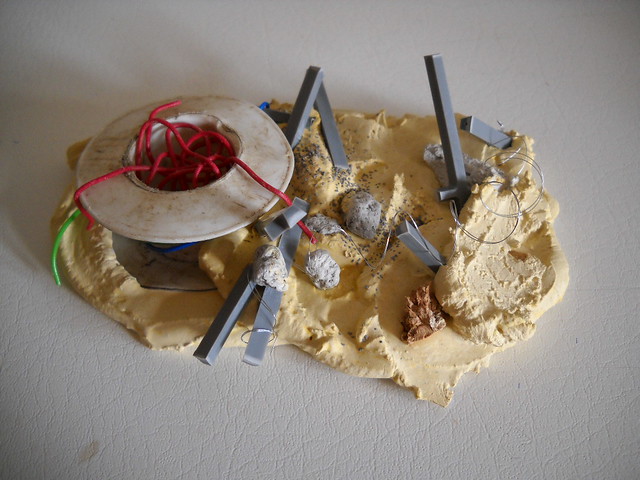
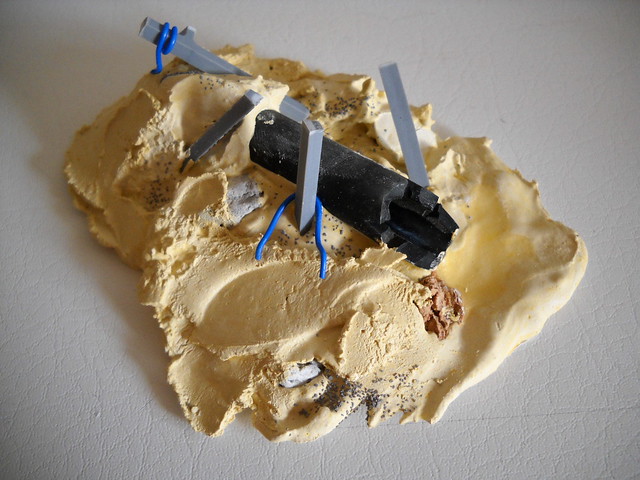
When you prepair the plaster, while still humid and soft, you can put some pieces to look like half burrowed. That's what I did with the tubes, power cables, bars and rocks. I used some different types of rocks, using plaster pieces as I said, some cork pieces and some pumic stone.To add texture, I have thrown some dry plaster to the terrain piece, while still humid. The plaster will make some clumps and will add some nice texture to the terrain piece. You can add also some types of sand to add even more texture.
For those electric installations I used the caps from printer cartdridges. Those orange bits, yeah, cartridges caps xD I used the holes that those had, to make some cables appear to the outside.
For the electric poles I glued some leftover sprues and drilled some holes to pass the cables.
I hope that soon PapaJJ will be able to paint his terrain pieces to see some pics of his incredibly Sector 7G with the rubble bases on it.
Well, until next time. I hope you understand a little about how to handle this plaster pieces. It's really easy to make some cool rubble bases using plaster. Unfortunately I didn't make pics of the process, but I will more than happy to answer all the questions you could have abot plaster handling!

