Sunday, February 27, 2011

TUTORIAL: Miniature Photography, part 1

Well well well, ladies, gentlemen and unicorns... long time without making a tutorial!
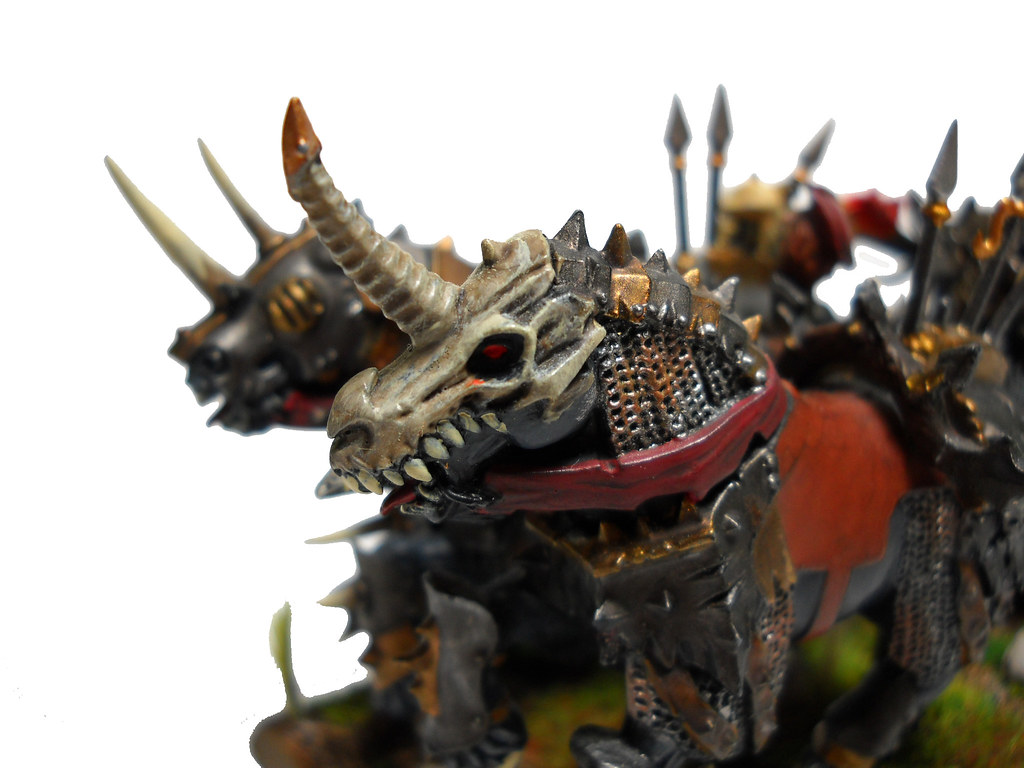
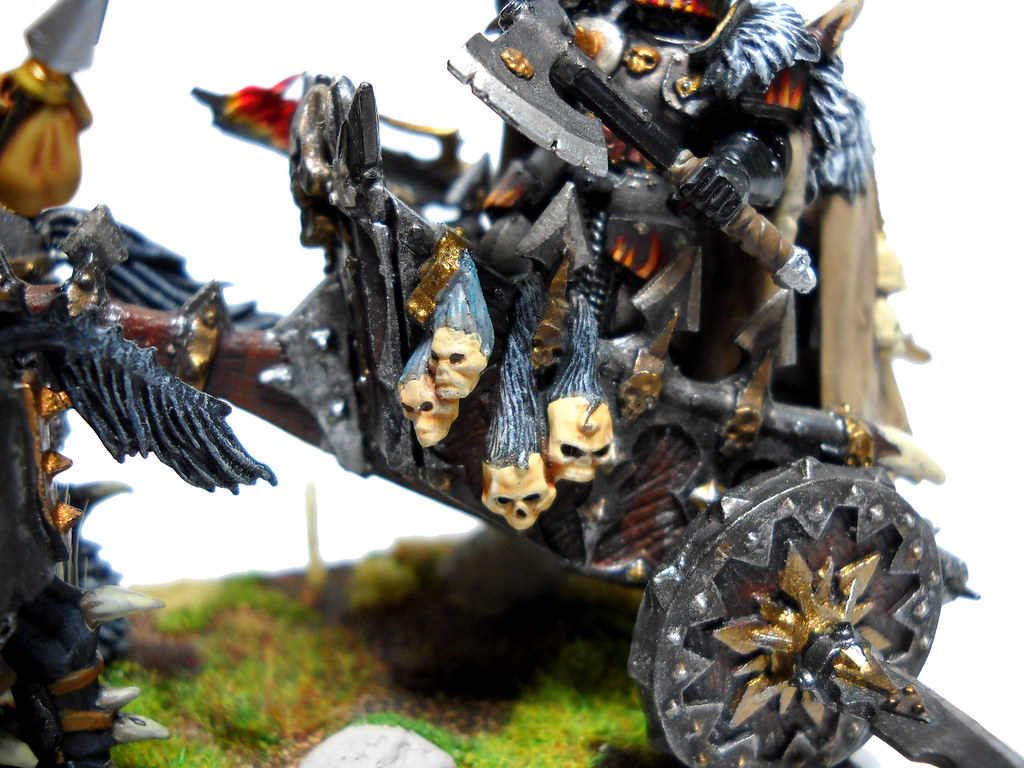
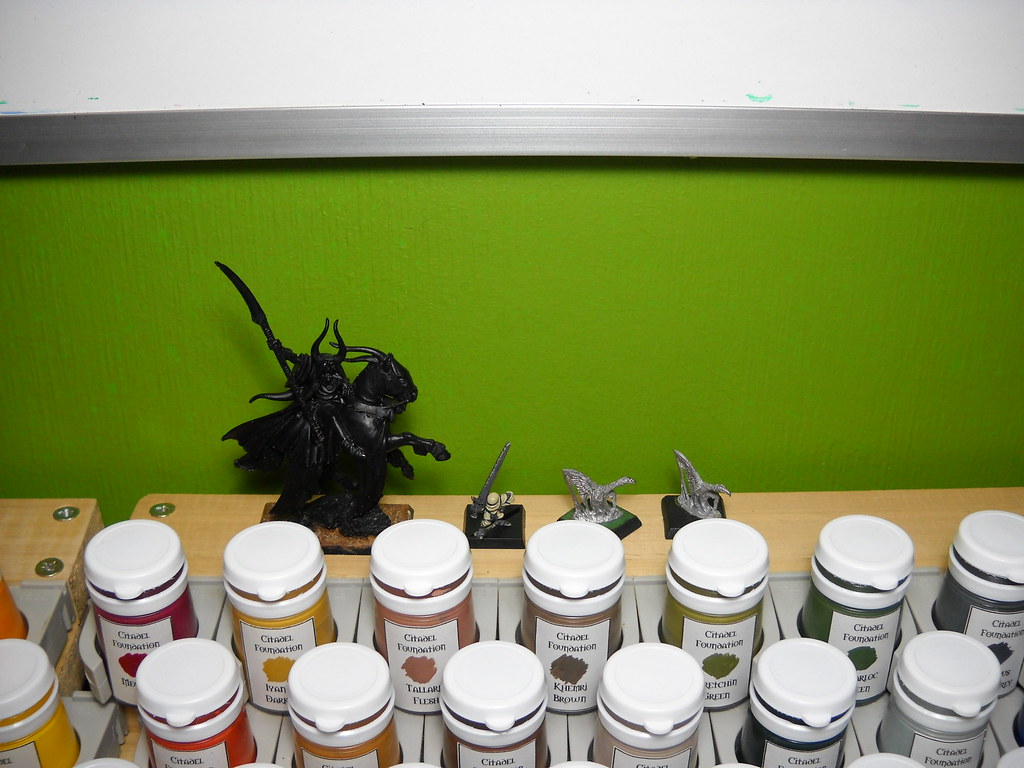
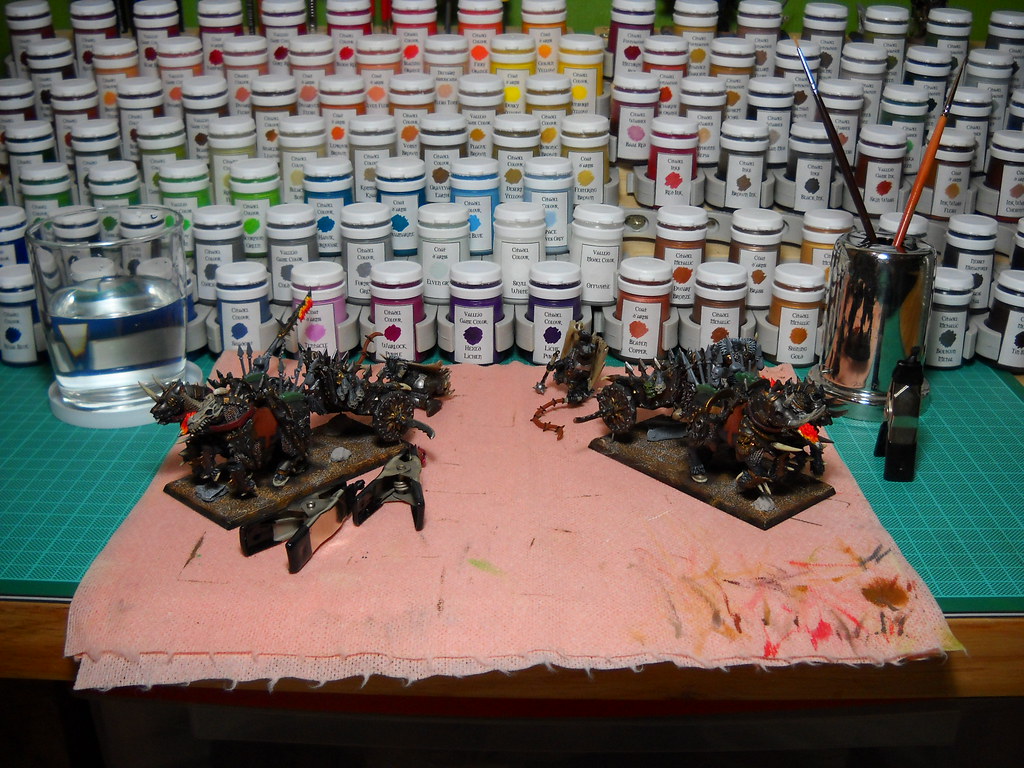
I was asked to tell how I make the pics of my minis, because nowadays, they look "fine". For me, they were just OK, they could be better with better lighting and a correct setup. That's why I decided to pay a promise I made to myself (xD) and build a lightbox and portable photography studio for less than 40 USD.

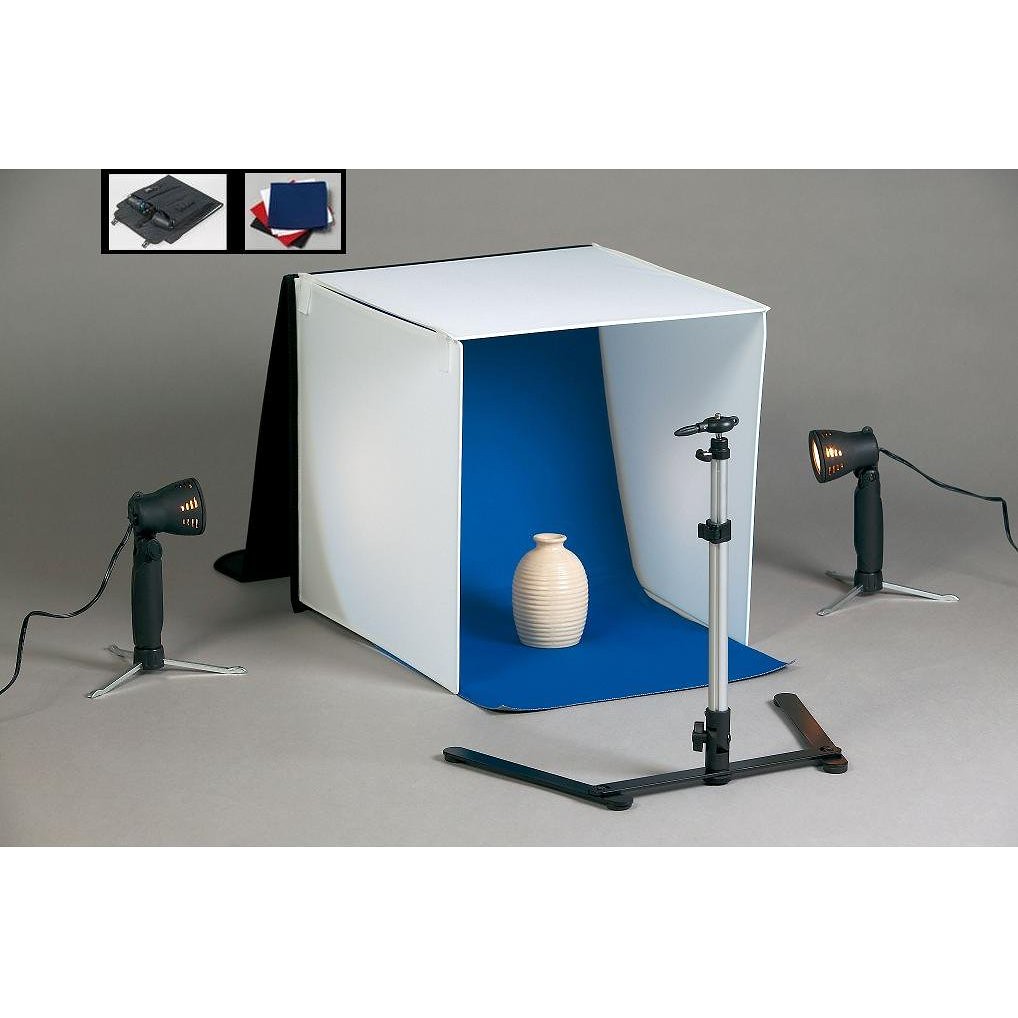
Short story: a friend of my dad went to the USA some weeks ago, and I was about to ask him to bring me a Portable Photo Studio, like the ones sold in Amazon.


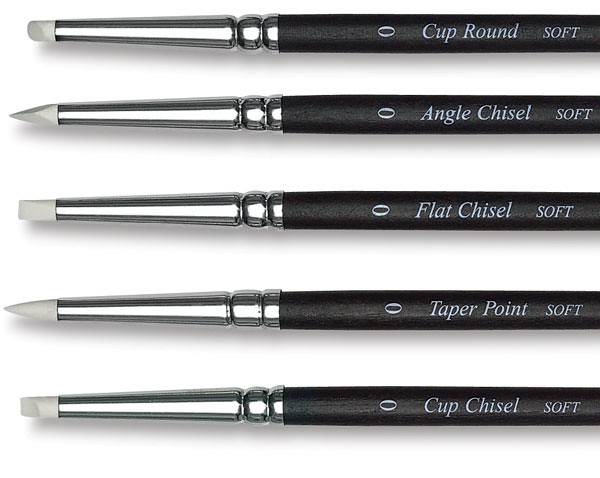
In the last minute, I changed my mind and decided to ask for a colour shapers set, then I promised myself that I would make a better portable photo studio using less money. (Now I have the whole colour shapers set, and I'm a happy man! xD)

So, this was the perfect oportunity, to explain how I make the pics, to pay my promise and to make my pics better! Hoping that I haven't bored you too much, lets get building a portable lightbox and photo studio, for less than 40 bucks!

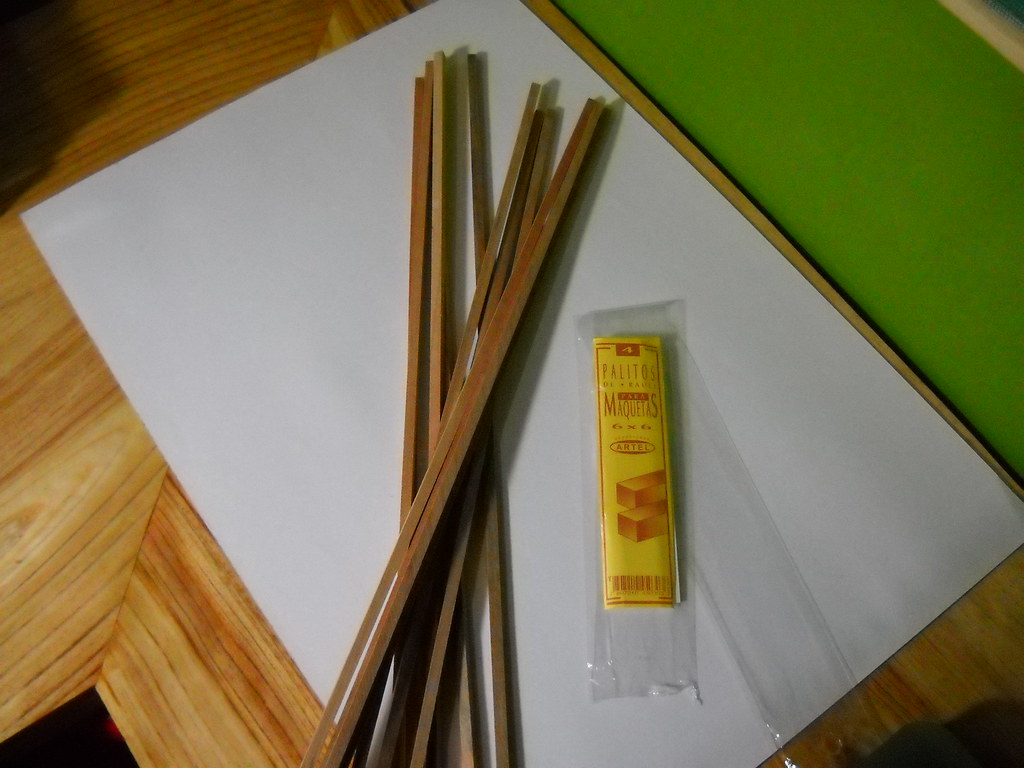
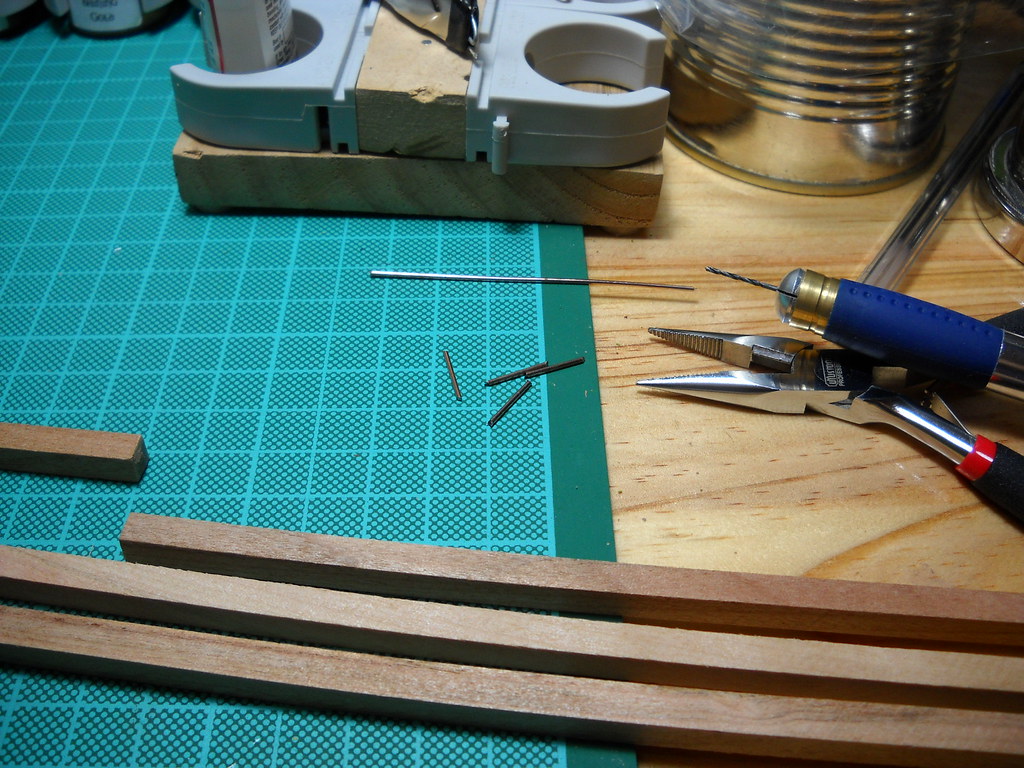
I began with the 6x6mm architecture wood sticks (2 USD for twelve 50cm pieces), cutting 4 in halves. I selected two more pieces, and another one, wich I cut 6mm. And then, using my hobby drill, drilled some holes and pinned them before gluing the wood sticks to form two 25x25cm square frames and one 25x50mm rectangular one.

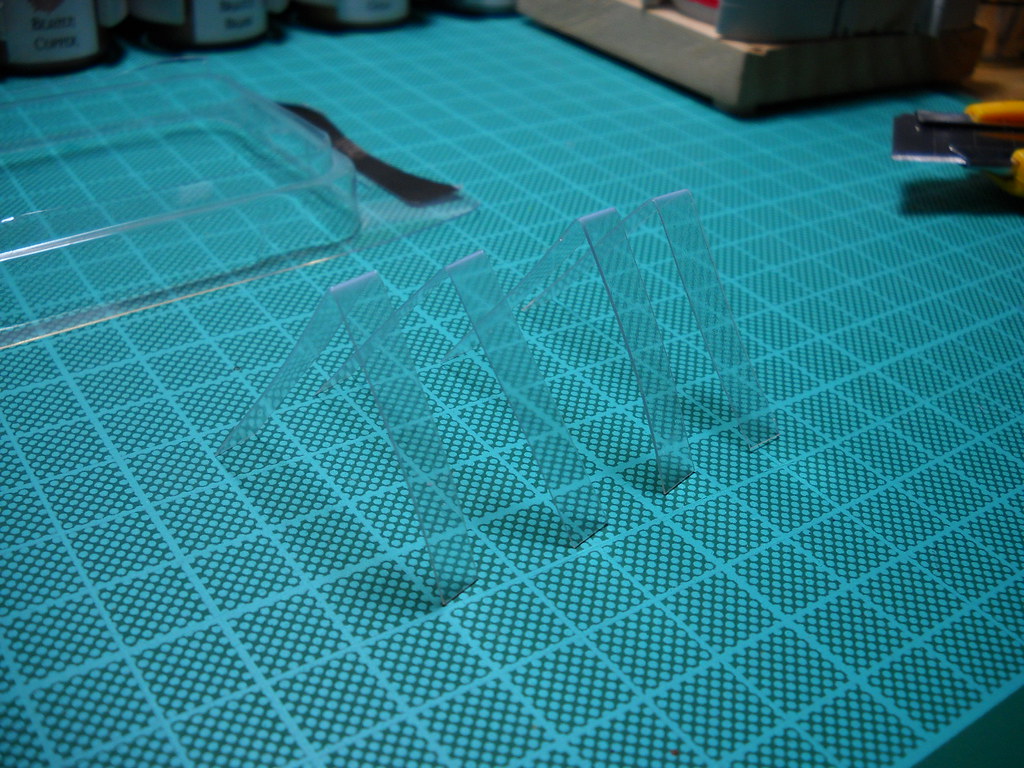
Then I cut a blister package in four 90° bended pieces an used the bunch of paper clips (8 USD for 40 assorted colour pieces) to hold the frames in place, giving form to the lightbox.

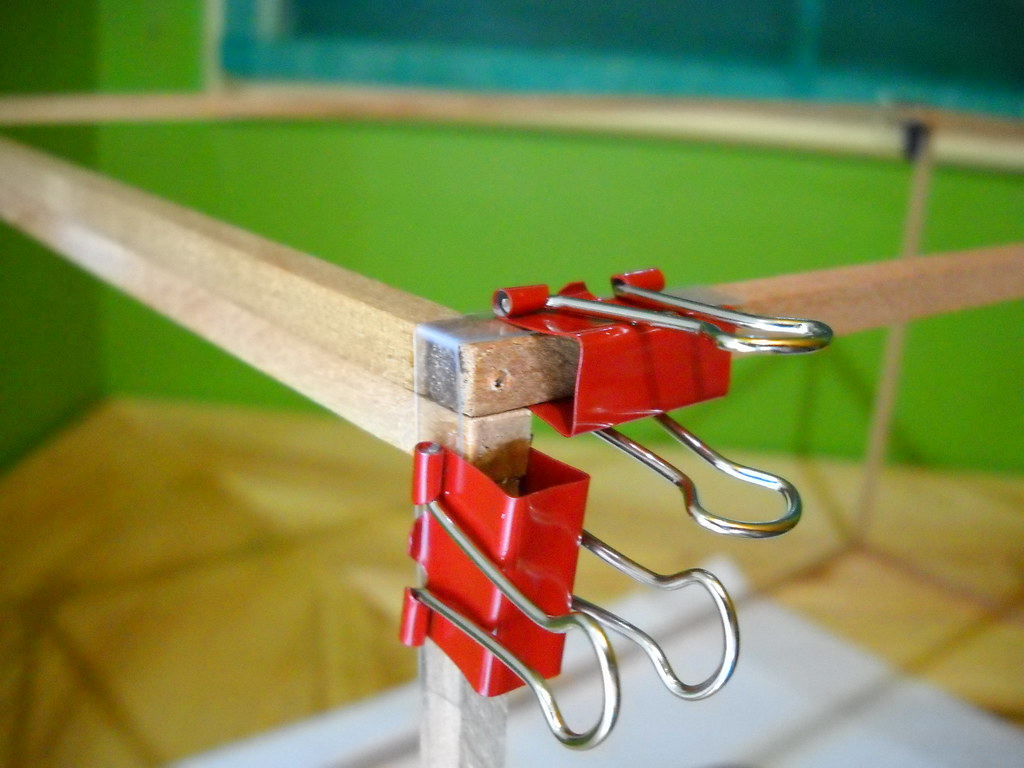
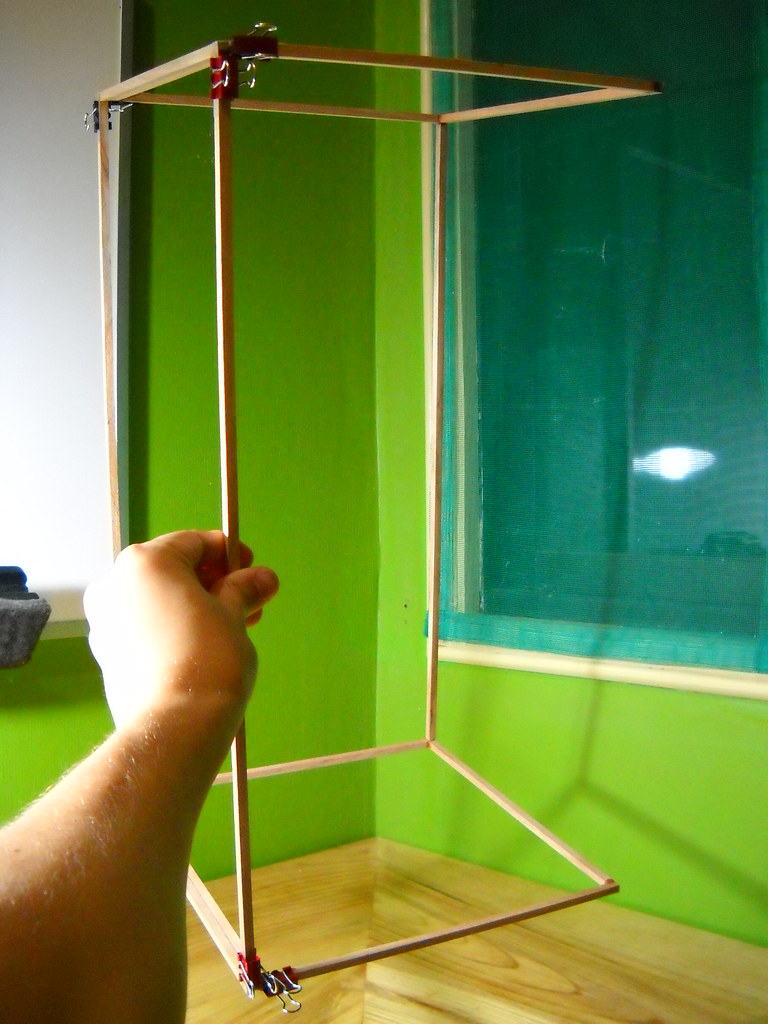
As you can see, the lightbox is quite fragile, but sturdy enough to mantain shape for itself. That's mainly because of the bended pieces of blister package and because of the pinned stick I cut 6mm before. One hole on the side of each squared frame and voilà.

Then I cut two 25x25cm sheets of butter paper and one 25x50cm one and have plenty enough to build like 8 lightbox more (bought 1 square meter for less than 0,5 USD). With the help of the clips, I attached the butter paper to the frames.

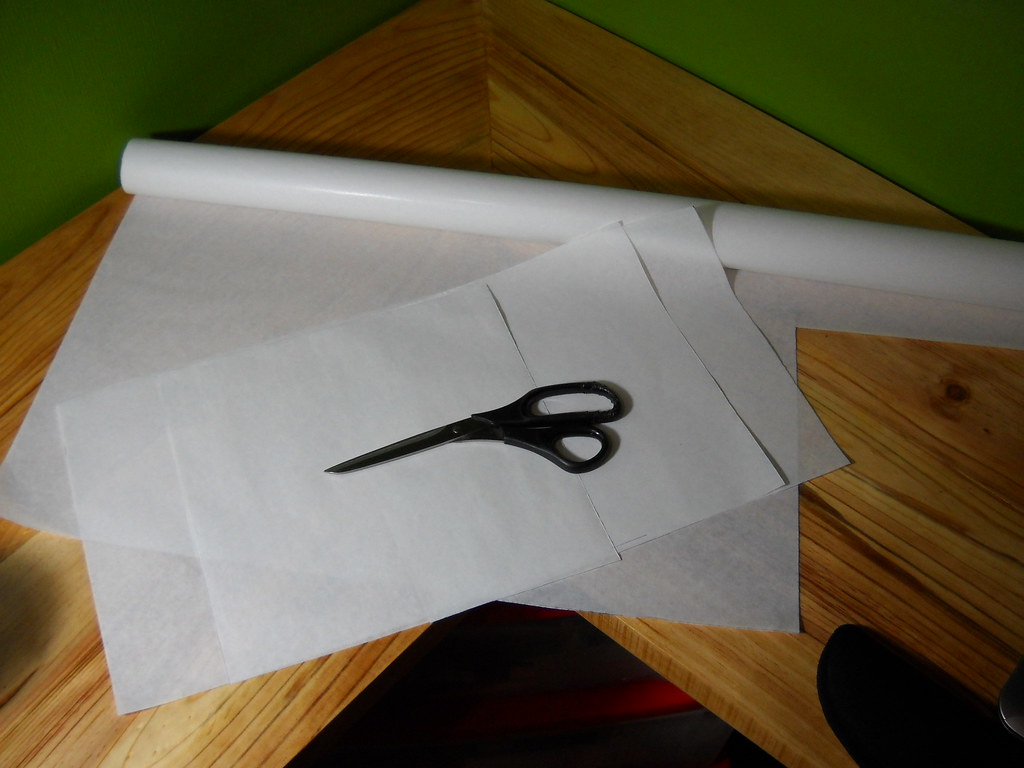
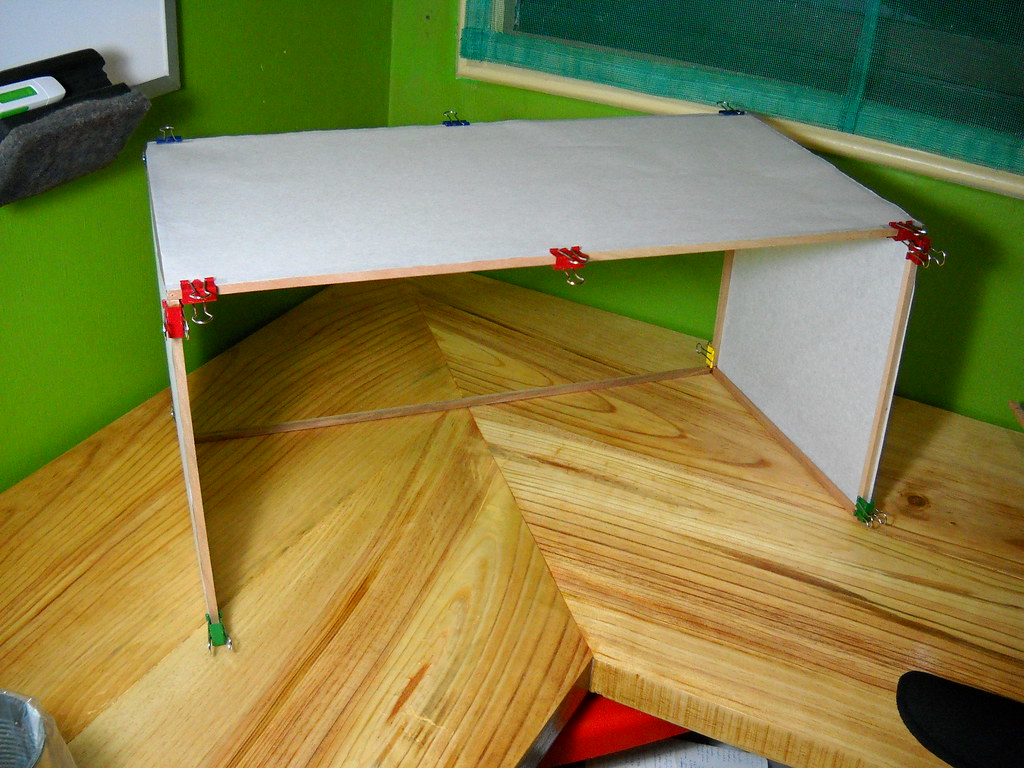
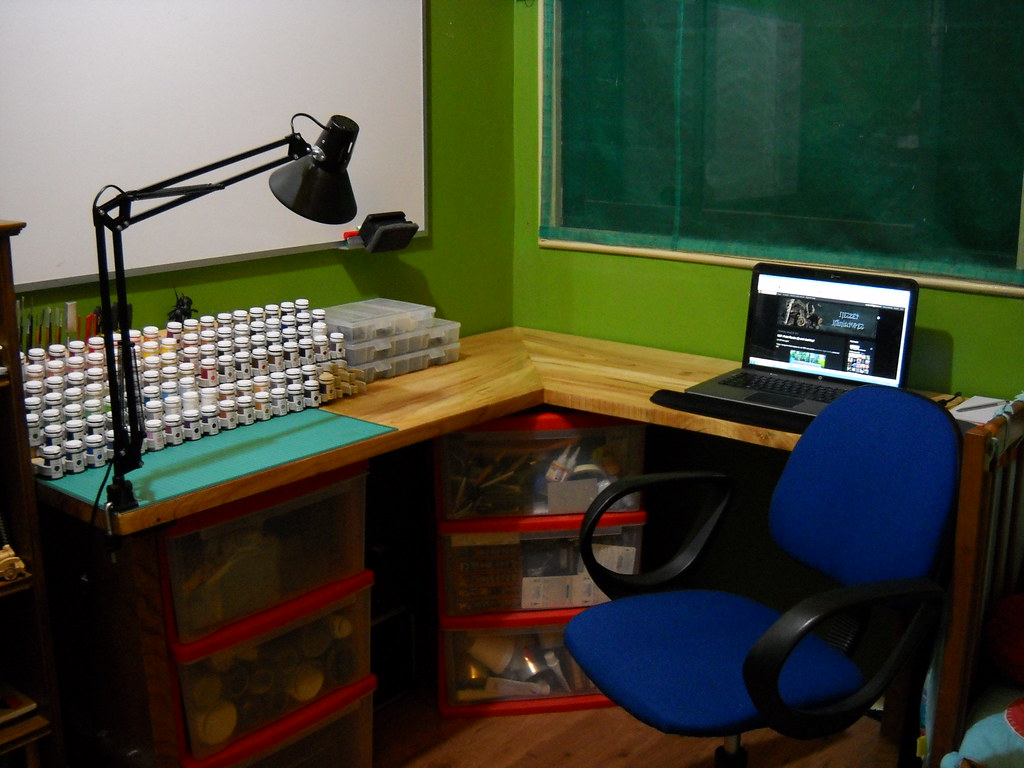
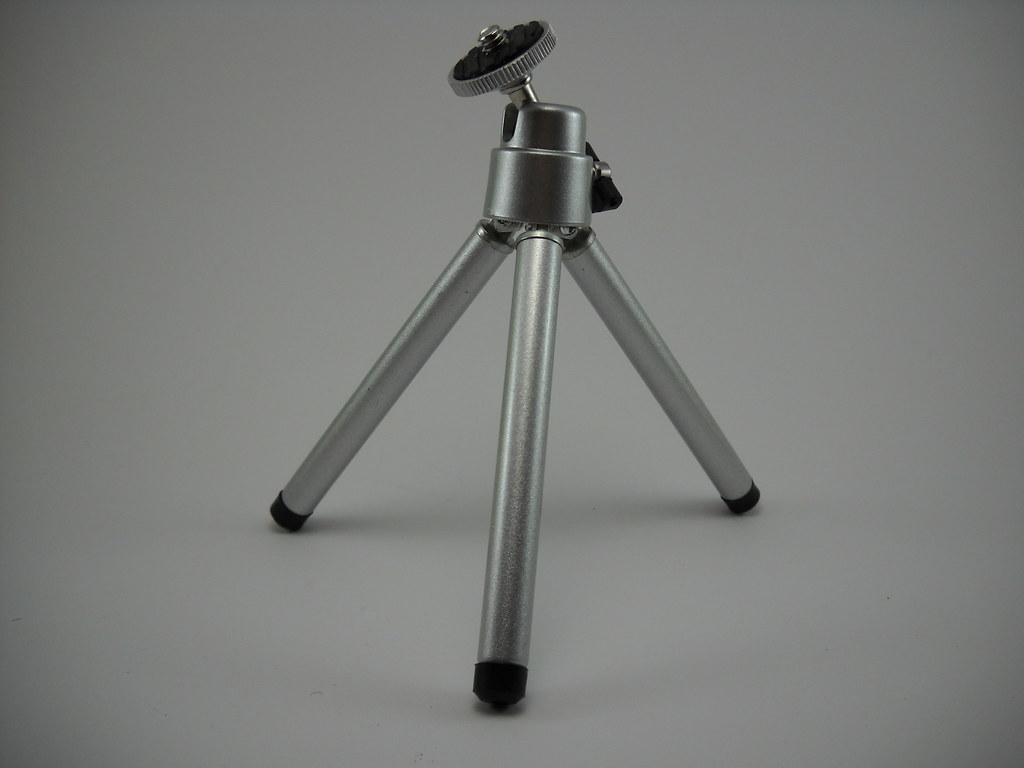
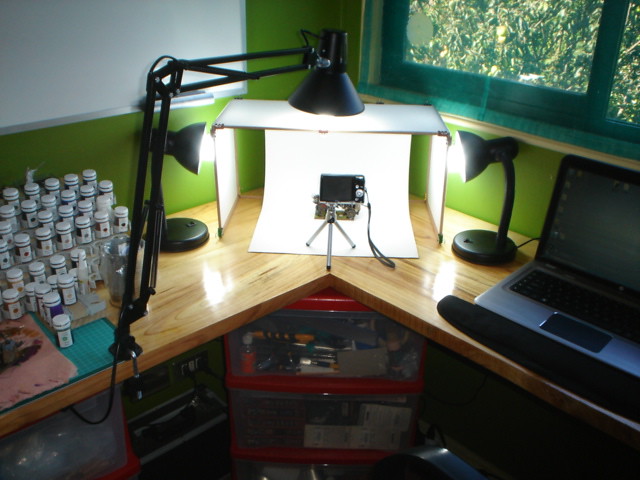
Before doing this, I tried diffusing light with several papers: diamond paper, butter paper, normal paper, craft paper, TNT fabric, and the best diffusing light is the butter paper (also, very cheap!). Then I got some big drawing block sheets and attached them with the help of more clips (kinda happy for having bought 40 xD). And I opened the package of my brandless mini-tripod (that i bought for 3 bucks!) to try it.

At this point, the studio looked like this:

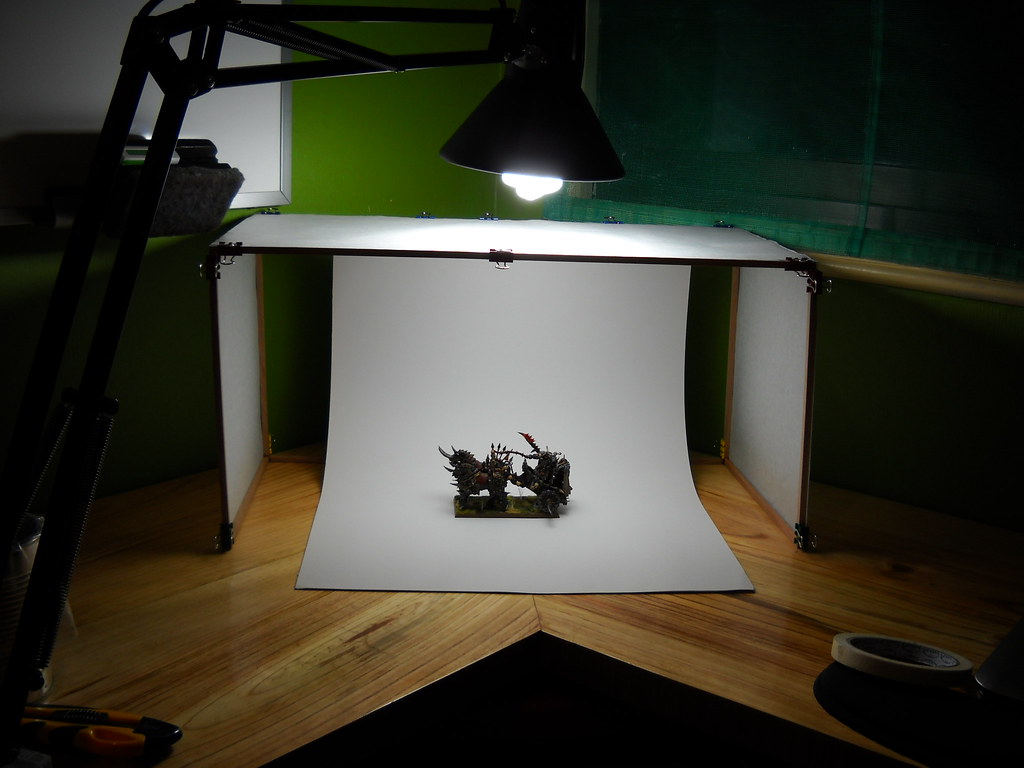
But then I added 2 lamps (4 bucks each) with 2 Twister Phillips energy saving 23W cooldaylight bulbs that light like 100W bulbs (wich costed 5.5 USD each). Yeah, bulbs were more expensive than the lamps. That's because lamps don't matter, but bulbs are critical for miniature photography. I suggest energy saving lamps, because they almost don't produce heat and consume less. The twister ones are my favourites and they should light like 100W or more. And the most important part: cooldaylight, or natural daylight. All the other stuff just spoils the pictures. Trust me, propper lighting is crucial.

Summing up, I bought:
- wood sticks 2USD
- paper clips 8USD
- butter paper 0,5USD
- mini tripod 3USD
- 2 lamps 4USD each
- 2 bulbs 5,5USD each
So, mission accomplished! Overall I spent ~32 USD to make my lightbox and photo studio. I forgot to make the final pic, but unassembled, it fits beneath my desk, over the drawers, in a 3cm high space between those 2 surfaces! Of course the 2 side lamps should be kept in their boxes when not needed ;D

Well, that's it for now. I hope you liked it so far, and hopefully, that this enourages you to make a better lightbox, if you haven't got one already!

In the second part of this tutorial, I'll explain a bit about lighting and how to make good pics. And in the third and last part... just guess!

See ya! Soon!

Wednesday, February 23, 2011

SHOWCASE: Chaos Chariots

Well! Finally I managed to make some pics of the chariots I finished painting last week. I changed my painting night for a picture/photoshop/uploading/posting night xD
I feel pretty happy to show these, because I painted both model, in the course of A COMPLETE YEAR! :S
Every time I intended to paint the chariots, something happened and couldn't do it. Really strange and akward things, work to do, subjects to study, tests, exams, patients, blah blah blah...

But now, I finally can say that my 2 Chaos Chariots are ready, converted, bit-swapped, fully painted and based, and ready for battle!

Let's begin with the first one.

As you can see, the only parts from the original chariot used were the chariot itself, and the base. I changed the horses for Chaos Steeds and the crew for Chaos Warriors. Used the whip arm to convert the Chaos Warrior, and the lance to make a flaming halberd for the second Chaos Warrior. I sculpted the flames on the halberd, and also in the spearhead from the chariot. Let's see some details!

Now, the second chariot. Of course I didn't use not a single piece that I've used in the previous chariot, being the whip arm the only exception. And well, I bended it to look different =3

With both miniatures I used a different technique for the long grass. Maybe you can't notice, but looks better than the previous shown miniatures with long grass (now looks like the grass is growing just from the earth).

Well, these are the pics from my 2 Chaos Chariots. I hope you have enjoyed them, as much as I (for seeing them finally ready!!! hahaha).

Comments and critics are welcomed, as usual!
See ya soon, expect more minis here in the very near future! =D
(and some other crazy DIY projects!)

Saturday, February 19, 2011

SHOWCASE: Friday Gaming Night!

Hi again!
Couldn't post earlier. Have been working (real work, you know) and have done tinny advances with my miniatures and projects. I could only manage to finish my 2 Chaos Chariots (yaaaaaaaaay! I began those like a year ago xD) and bought the materials for 2 differents projects I want to build in the remaining days of summer. Ah! And I began painting another Chaos Sorcerer, this time, mounted!


In the meantime, let me show you these pics, from last Friday. I titled the post SHOWCASE, because of the scenery that is shown in the slideshow. All these beautiful pieces were made by my friend Fingo, who designed and converted every single one, from scratch. Sometimes using cardboard, PVA, sand, toilet paper, untangled rope and RTV ceramic. As I said, I think these pieces are beautiful!

Now, click play and the fullscreen button!


The match was between Lemon's dwarves and Jose's High Elves. Of course I didn't make it to arrive in time, so I spent from 6pm pouring the remaining colours into the new pots, while Fingo assembled some skavens and made some custom rules for the central terrain (those creepy catacombs-like-things in the middle of the board). My friends watched the WH40K movie while I haven't arrived yet, resisted a 5° tremor (hell yeah, another one) in Lemon's appartment (6th floor xD) and then we began playing and having a great time.

Well, I'll make the pics of some minis next week, so, stay tunned!

See ya!


EDIT: Now, Fingo has his own blog!
Check it out, HERE to see lots of pics, and explanations on how he models those scenery pieces!!

Sunday, February 13, 2011

SHOWCASE: Desktop and Paint Racks with new Paint Pots!

Hi again! Finally I could make some time to post this:


Yeap! I have finished building my desktop, and my paint racks!
The truth to be said, I've finished some weeks ago, but couldn't post earlier and... I haven't finished putting my paints in my new paint pots until this friday! That was an epic and tedious work, I'll explain that later.
Now, lets look the building of the desktop (or the finishing part of it):

Just to reinforce, I screwed those metallic plates (no idea how to call them in english, neither in spanish xD) to the wood planks, just between them. There you can see how I attached the desk legs. A piece of wood and screwed to the leg. Then, the remainings of the piece of wood, attached to the desk. Then, added metal brackets to mantain (in the future) the 90 degrees between the legs and the desk. To finish it, I glued felt pads to the legs, in order to keep my laminated flooring in good shape.

The finished desktop, ready to receive all my hobby and learning gear!
Well, for now, only my laptop counts toward the learning things xD
But in some weeks, there will be sure some files, printed powerpoint documents, papers, publications... >.<

Coming back to the bright side, let me explain how did I put my paint into the Plysu pots.
I was able to do that (without becoming crazy or dying while waiting) with a custom spatula I made.

For the spatula, I used:
- an old dental tool, in bad shape (no longer useful, but still saved to "become something", "someday...")
- a dental silicone (better use the things you know, that's why I used that. Any RTV silicone or rubber should work aswell)
- a sheet of clear plastic

I just bended the end of the tool, to make it a bit more retentive. Mixed the silicone with the activator and formed it in the handle. Quickly, I press the silicone with the already-folded plastic sheet, to make the spatula triangular (and with a more regular surface; way better than cutting it after curing). When cured, I cut the excess with a knife and measured the spatula, to be sure that it wouls fit the citadel pots.

With the spatula in hand, I begin the almost endless task of moving the paints to their new home =3
(Is there a verb in english form moving a liquid to another container? I don't know any word for that, and recently I discovered that the word I use for this in spanish, doesn't legally exists xD)
The thing was, that I made the spatula thinking in the OOP screw cap hexagonal pots and that I didn't fit the new pots T.T
So, I had to improvise and use a leftover from the spatula making process to speed things a little. I made some sort of tripods using my pliers and clippers to hold 2 pots while I was removing the last drops of paint with the silicone leftover.

This was the most tedious part of this titanic task, so, I realized it in the first place. Then, I used the spatula and felt like a caveman with a wheel! It went easier, faster and lost almost no paint!

Well, in the meantime, I made the labels, like a caveman: using word and test-printing them until it fit the autoadhesive label-sheet I had avaliable (yeah, you can imagine me, printing and looking through the sheet if it fit the labels xD). When printed, I painted a spot on the labels with each color.
I also searched for my marble balls and made sure they fit correctly in the Plysu pots. I washed enough with boiling water and let them rest to cool down. The marble balls now became agitator agents for my paints. This is specially handy for those paints that come with their body almost lost, like some foundation paints, and the citadel metallic range.

3 second shaking with the ball inside, and voilà! Seriously, agitators reduce dramatically the shaking time needed.

After all this work, I ended with this:

In the last minute, I decided to add pot holders in the 2nd, 4rth and 6th ranks, to fill the gaps between racks.
You could also see the font I used for the labels ;)  And also, you can see that I followed PapaJJ's advice and left the upper rank without holders, to have some inspirational and WIP miniatures there.

Well, I forgot to make more pics, but I hanged my whiteboard near the desktop and bought an articulated lamp, with an awesome energy-saving daylight bulb, and also, I upholstered the chair. Yeah, that blue chair is 13 years old, but it doesn't look like that now =3
Appart from everything that I said, I have been also working as painter, cashier and waiter (in events), upholsterer (my mothers idea after renewing the chair: upholster all the dinning table chairs!) and quite other things that I don't recall yet xD That's why I couldn't post earlier: it took my 3 nights to finish moving the paints to the pots (damn, I need that word!) and I wanted to finished that before posting.

But, I have still almost a month to paint. I began trying to finish a pair of miniatures I tried to finish like a year ago. Those are now almost ready, and they will be for sure the first ones finished in my new desktop, and with my new racks!

PS: but... I still have some other projects to develop in the last month of vacations I have!
Related Posts Plugin for WordPress, Blogger...