Thursday, December 30, 2010

WIP: PapaJJ Rubble Bases!

Hi again.
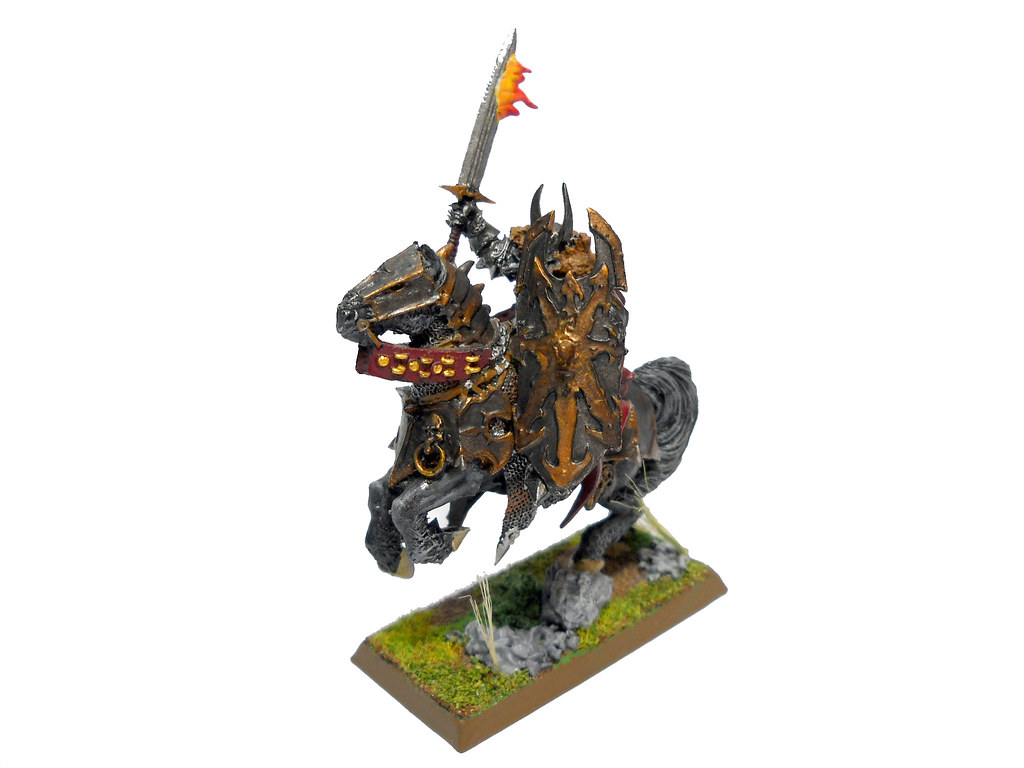
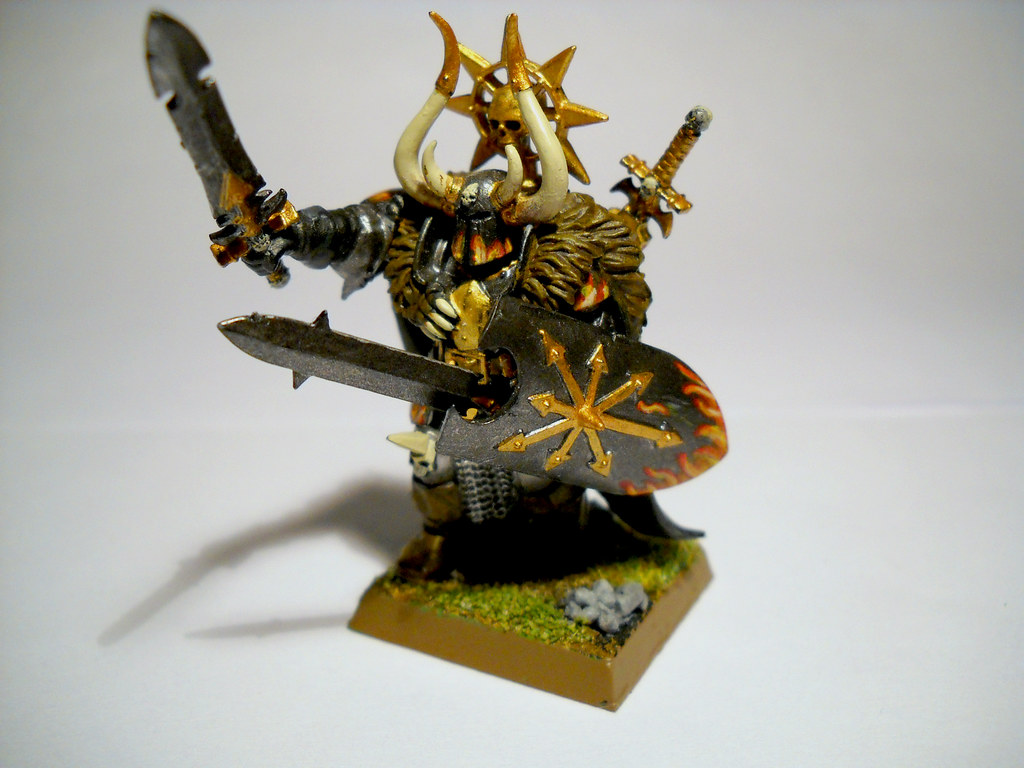
This time I would like to thank PapaJJ for the shout out on his blog. He was kind enough to show a lot of pics of some terrain rubble bases I made for him some months ago.

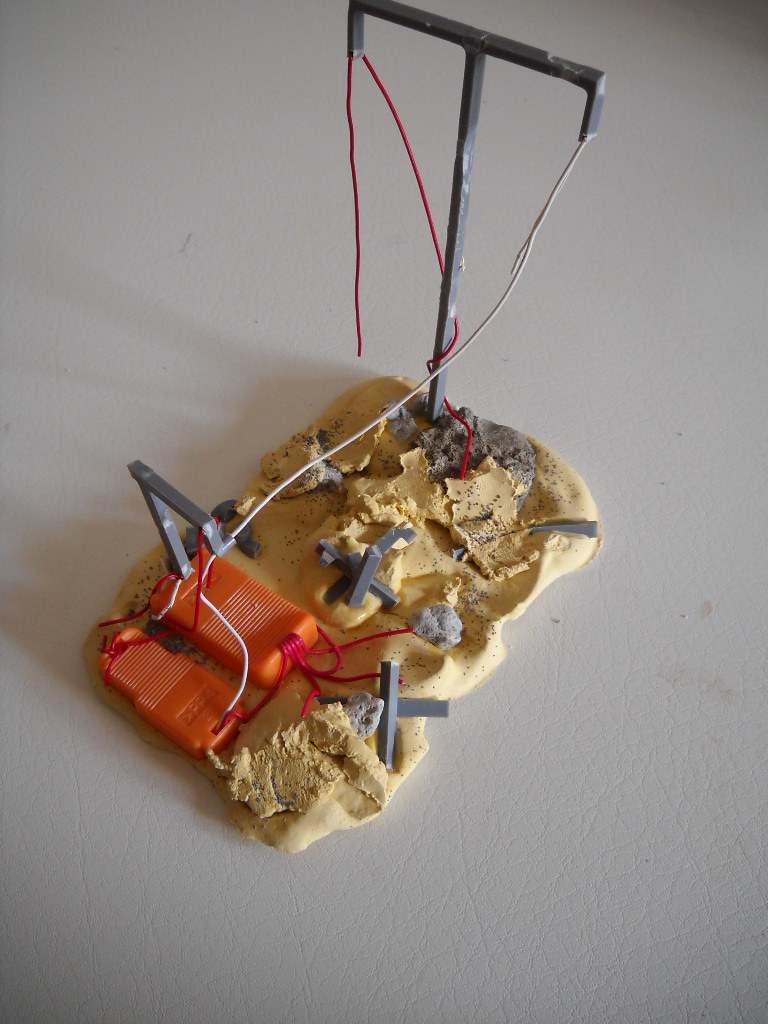
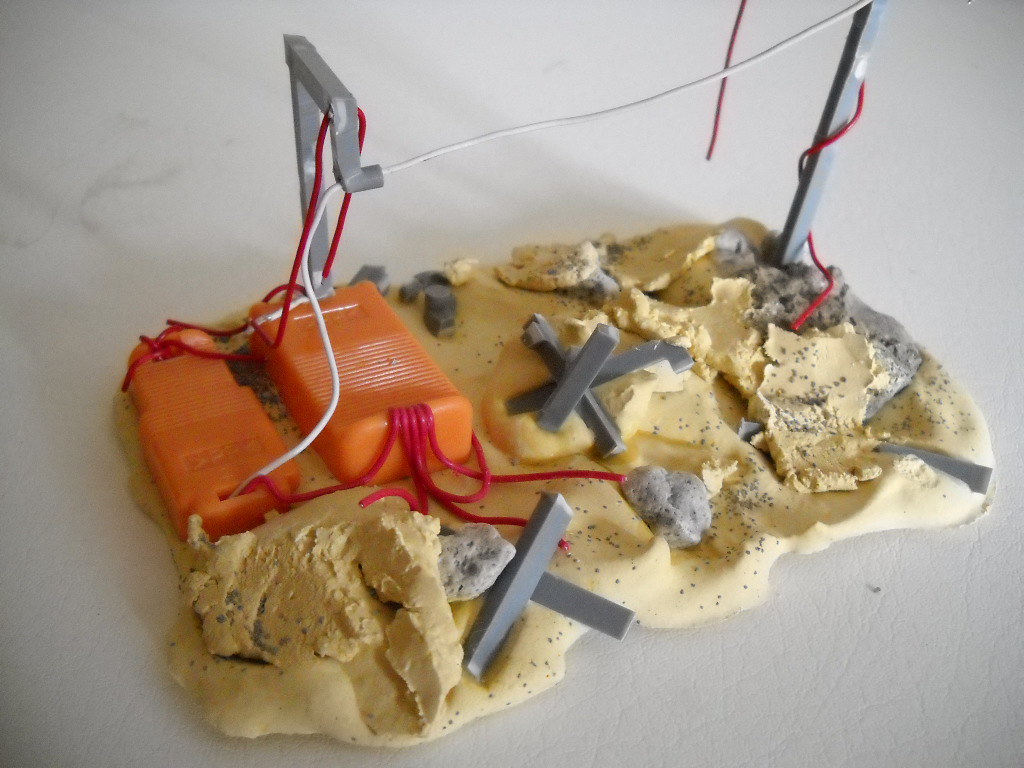
Everything begun with him letting everybody know he would ruin all his remaining bits from the modular movement trays he used for the Sector7G. I hit the ceiling and told him I would like to buy all those bits. The GW modular movement trays have enough corner pieces to put 2 per tray. I always liked how the MMT looked with 4 corners, but couldn't find anyone to sell me the bits I needed. I was going to cut some straight pieces in 45° to make some corners. That was when PapaJJ said he will make some rubble bases using those bits. The thing is, after knowing my idea for the pieces, he offered me all his bits, for free. I was going to buy them, and he was so kind that offered them to me for free!! I said at least I should have paid the shipping and handling but he refused. Then was when I came out with the idea of the exchange. I would make rubble bases for him and he'll give me the bits I wanted so much. That's how I ended making this:
You can see some beautiful pics of these terrain with the Haverbrook 212th Grenadiers from PapaJJ, on his latest entry. All the instructions I received from PapaJJ for his terrain, were the measures of the pieces: "2x3 or 3x5 would work well, and somewhere in the range of 1 to 3 inches tall". So, I had almost no restrictions and let my imagination fly away! xD

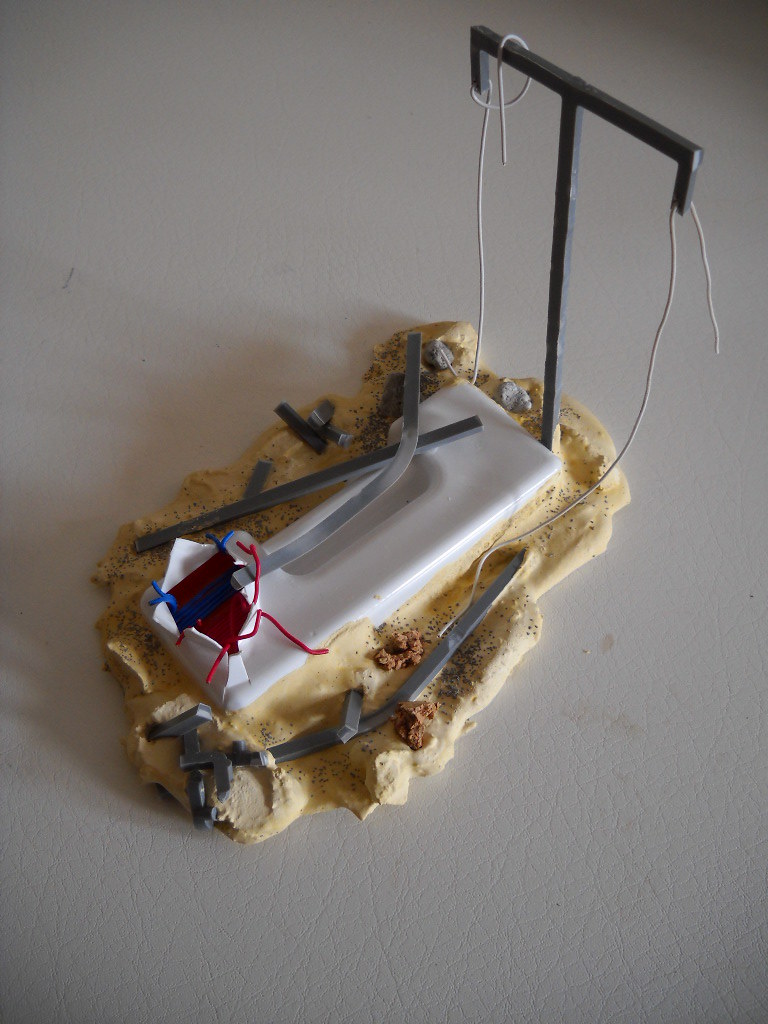
Let me explain how easy is to make this sort of scenery using plaster. First is to buy some plaster. For this project I used som rock hard gypsum. In dentistry we normally use plaster of paris, the white and common gypsum. There is also some harder plaster, that we call stone plaster. No idea how it's called in the US od another countries, but in any dental store you'll be able to buy thise and another kinds of plaster. Something better, even harder it's the artificial stone plaster (I think americans call it that way). Any of the alternatives will be good enough. I selected the stone hard plaster, because the terrain needed to fly to the US.
To make this you need some plastic sheet, or anything plastic and plain. You'll also need some rests of previous preparation of plaster.
 
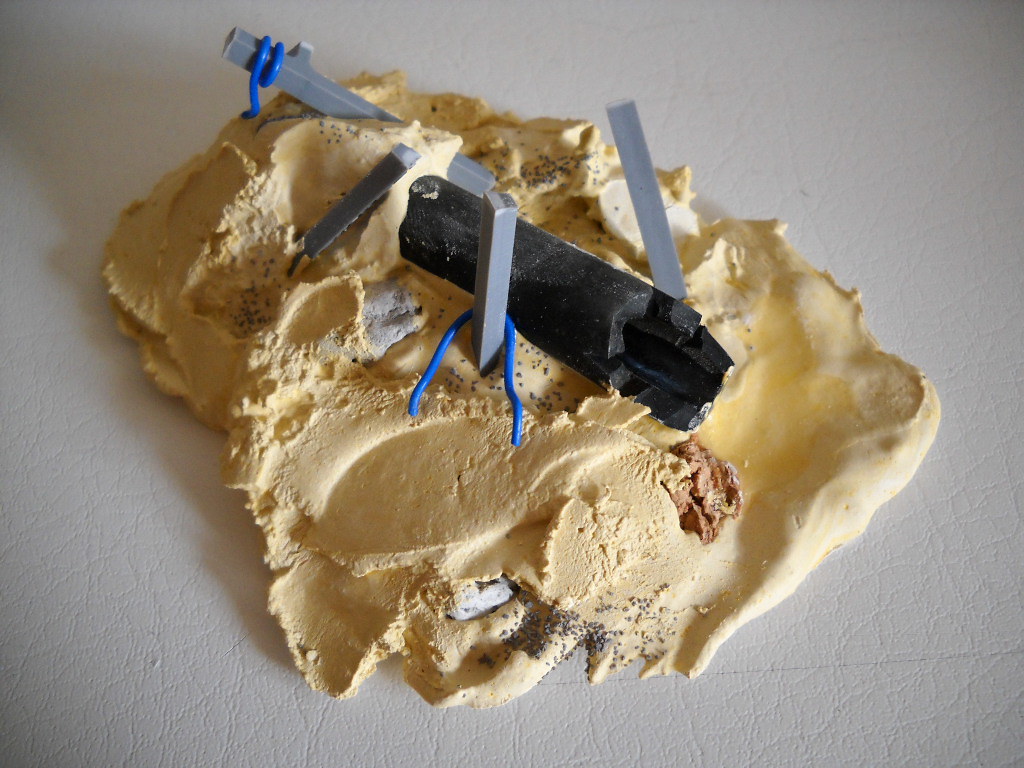
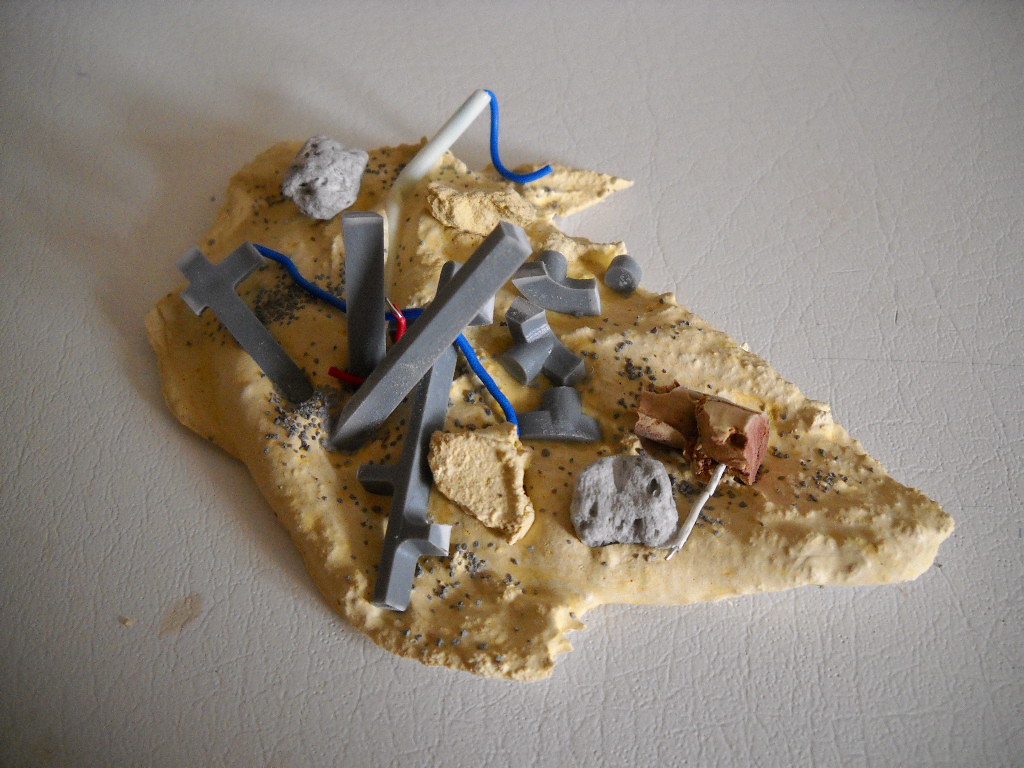
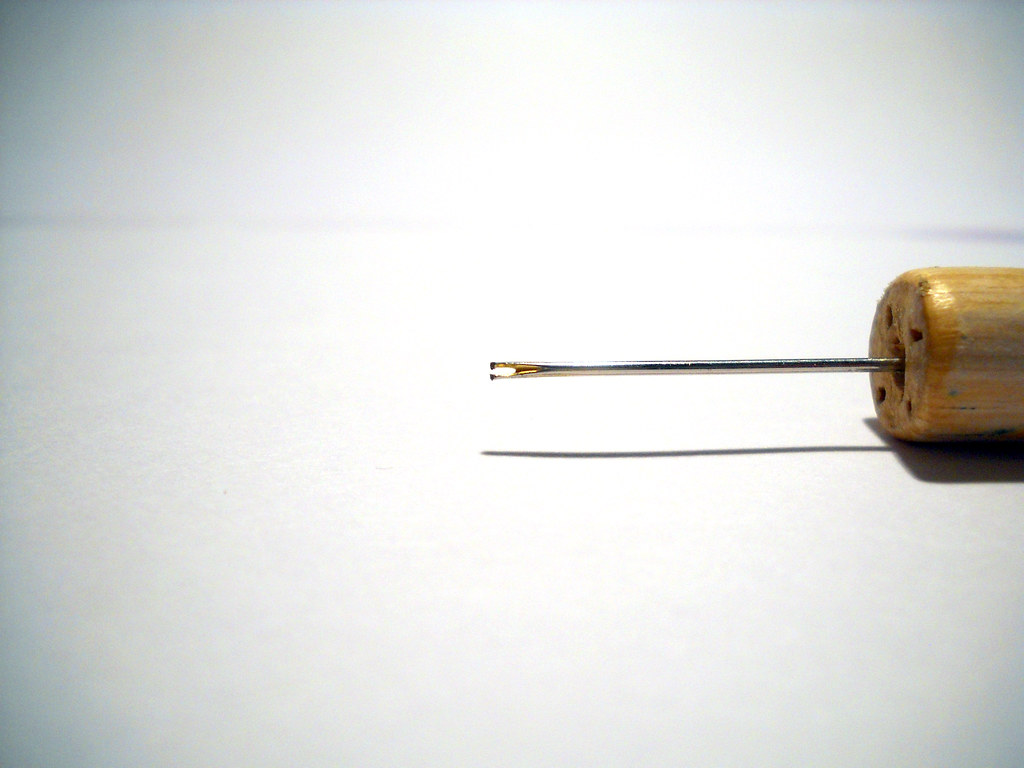
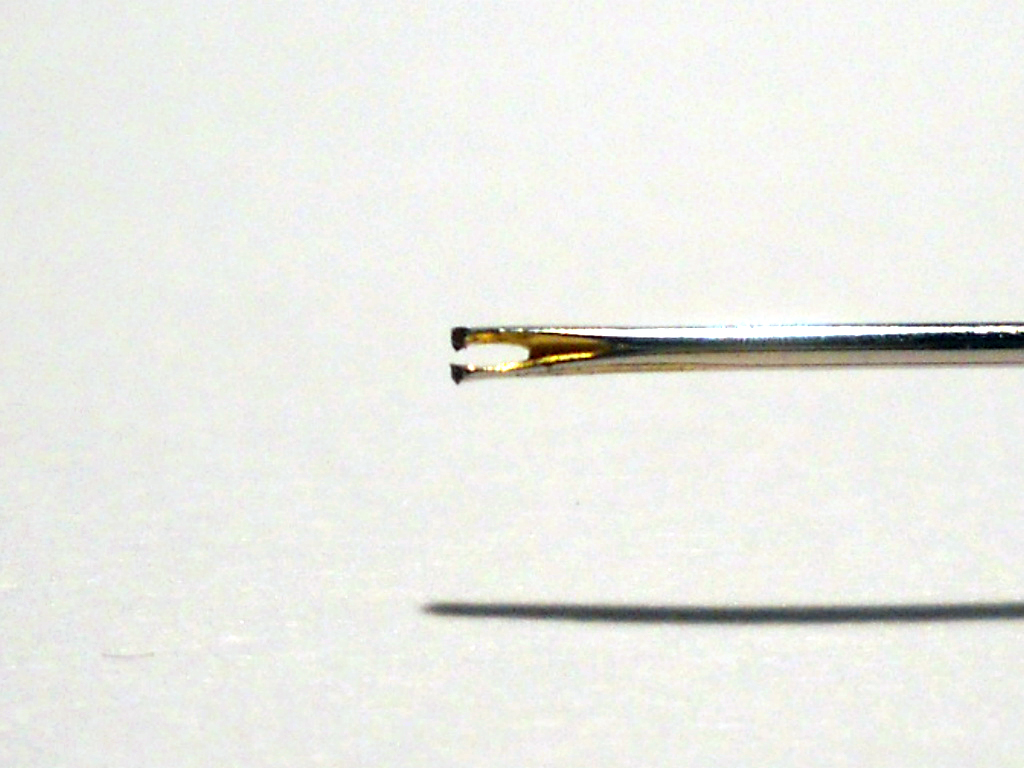
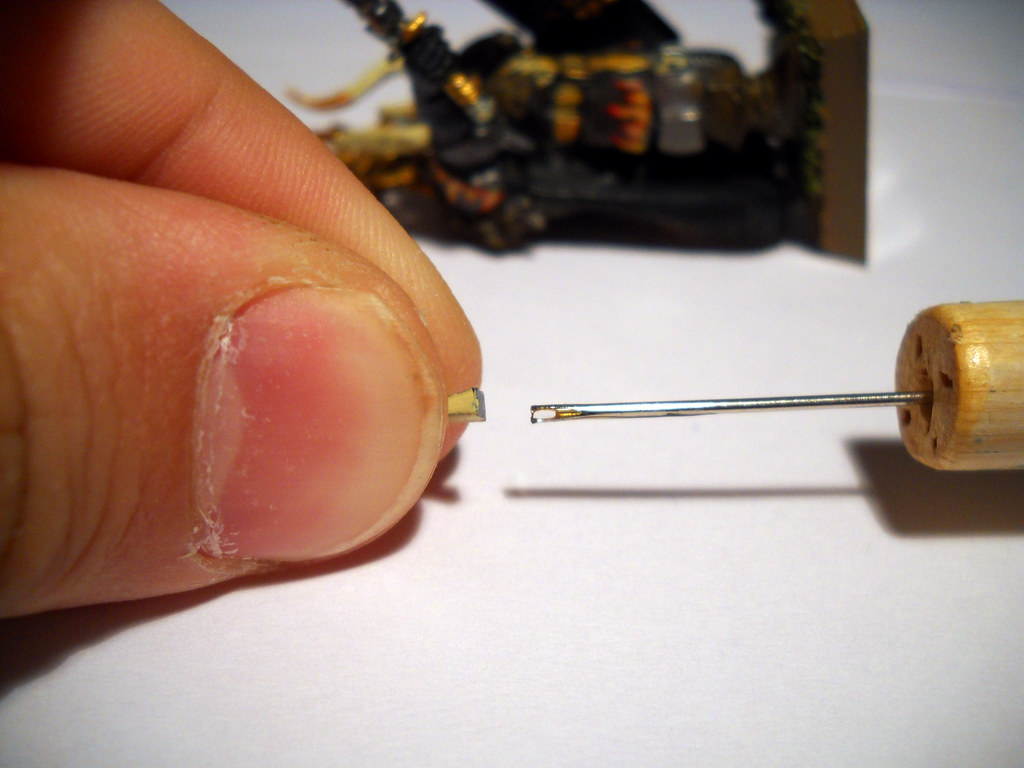
Please take a look at the plaster "rocks" from the above picture. That clump of plaster came from the reminings of previous plaster preparations. For the metal bars I used leftovers from the sprues, clipped and filled to look plain. Painted with metallics paint could look like metal bars, bended and/or rusted.
When you prepair the plaster, while still humid and soft, you can put some pieces to look like half burrowed. That's what I did with the tubes, power cables, bars and rocks. I used some different types of rocks, using plaster pieces as I said, some cork pieces and some pumic stone.
To add texture, I have thrown some dry plaster to the terrain piece, while still humid. The plaster will make some clumps and will add some nice texture to the terrain piece. You can add also some types of sand to add even more texture.
 For those electric installations I used the caps from printer cartdridges. Those orange bits, yeah, cartridges caps xD I used the holes that those had, to make some cables appear to the outside.
For the electric poles I glued some leftover sprues and drilled some holes to pass the cables.

I hope that soon PapaJJ will be able to paint his terrain pieces to see some pics of his incredibly Sector 7G with the rubble bases on it.

Well, until next time. I hope you understand a little about how to handle this plaster pieces. It's really easy to make some cool rubble bases using plaster. Unfortunately I didn't make pics of the process, but I will more than happy to answer all the questions you could have abot plaster handling!

Sunday, December 26, 2010

SHOWCASE: Chaos Exalted Hero

Hi again. This time I'll show you some pics of another GZ miniature, a full-of-charachter exalted hero with additional hand weapon.


I tend not to paint blood on my CW miniatures, principally because I don't know how to paint it as good as I would like to. Anyways, the axe from this miniature it's just so cool I felt the necessity to paint some onto it.

Ah! Forgotten to say that it is a charging exalted hero. Was it necessary? Hahaha!
I really  love how dynamic this miniature is.

Until next time, comments and critics are welcomed ;D
See ya!

Tuesday, December 14, 2010

SHOWCASE: Chaos Knights

Well, finally, more minis to show!

It was more than enough about tutorials, tips, WIPs and specially, about contests (¬¬U).
Finally some finished miniatures to show! This unit of Chaos Knights was manufactured by a spanish company called Gamezone Miniatures. They were like 100 times better than the old citadel Chaos Knights, and they were released before the new plastic citadel Chaos Knights. That's the mean reason why I spent like 8£ for each, to build a 6-men unit. Yeah pretty expensive, but in those times, they were the latest kick-ass-chaos-knights avaliable. I finished painting them in the summer, like 8 months ago, but it wasn't until last month when I retouched them, painted the bases rims with Graveyard earth and considered them really 100% finished. Enough blah-blah, let's see some pics! Click the pics for the larger versions (as usual!)

Let's begin with the unit shot:
As you can see, this miniatures come with an insane level of detail. They are metallic, an they weren't (and aren't!) comparable with the 5th or 6th Ed. Chaos Knights. And... I converted them. All of them.

I sculpted flames in every weapon they carry, changed the head from the SB and modified the helmets from the 2nd, and 6th knights. The banner? Also converted. The original one was beautiful, but it quite wasn't "enough" for an important standard like the one carried for the "Swords of Chaos". Yeah, Chosen Chaos Knights. Back in the day, that was the idea I had for this unit. I added the horizontal pole, the ropes and severed heads from an orc, dwarf, some humans and elves, among a pair of skulls. I also converted the weapons from the SB and musician. Ah! And I also replaced the shields, for the shield from Archaon.


This is the original unit painted by someone for GZ.
Well, going for some details...
 
First Chaos Knight. Modified steed pose, sculpted flames and shield swap.

Second Chaos Knight. Modified steed and knight poses and sculpted flames. Shield swap and converted helmet.

Standard Bearer. Changed weapon for a pole arm flaming one (converted, of course), sculpted flames, head swap (I love that Chaos Warrior Head!) and heavily converted standard. Details can be seen here. (fullscreen button and enjoy!)


Chaos Knight Champion. I've shown this before. Anyways, the only thing I've done to this marvelous model is sculpting the flames on the axe. Please look at the original standards-made cloak and the resting sword on the left hand. And the severed head hanging over there. Everything, just straight from the box!
Ah! And also my first attempts at weathering! Not quite good, but when I did that, I don't even had any pigments! (now I have 2, not a great difference! lol)

Chaos Knight Musician. Modified steed and knight poses, sculpted the cloak (it's the only model without a cloak, unbelievable IMHO) and fur and replaced the weapons for modified ones, that were made using Chaos Warriors maces and some spikes. That awesome severed head, it's original from the miniature.

Sixth Chaos Knight. Modified steed and knight poses (to look like jumping), sculpted flames. Shield swap and converted helmet. The idea was to make unnoticeable the fact that this and the second knight were the same miniature. For the second I added a hair knot from the Chaos Warriors box, and for this I used metallic horns from a mtd. Chaos Sorcerer. I also swapped the weapon from one of these, for another from a knight with a coverted weapon and a remaining one. Modifying the pose had helped a bit, hadn't it?

Lastly, please take a look at the bases. Every one connects with the base from both sides. It's like a little diorama. Bloody sudoku? Obviously!


Well, I think there are enough pics now. =)
Please feel free to ask whatever you want about these minis, as usual. Critics and comments would be welcomed.

PS: DAMNIT!! I completely forgot to put the unit on its movement tray! Well, it's not such a big thing, but it looks nice on a modular built tray, with four-sided-Graveyard Earth painted-rims! (Thank you PapaJJ!)

Saturday, December 11, 2010

BANNER CONTEST FINAL ENTRY!

Woa! As you could have already read, I was selected as one of the 3 finalist of the banner competition held at Dark Future Games. We were asked to modify some little things to our entries and the 3 finals banners can be looked out HERE.

My final entry and modified banner is this:

I worked to "pop" the title a little. Corrected the grammar in the description (missing final point) and even a typo from the previous banner (millennium)! For the title, please don't think I reversed the colours! xD
It's a little bigger, thicker and it's not pure white and black (you can copy and paste in paint, zoom it and you'll notice!). The other thing I corrected was the description, no more italic characters. It does pop out more just as it is, and while changing the description back to normal, I made it a little bigger.

The other things I corrected were the exposition, shadows, highlights blah blah blah
As I said to OST, I won't bore you with such technichal-blah blah! But I hope that the pic speaks for itself!

Well, please take a look to the other entries and express your opinion in the comments section!
Thanks in advice for your support!

See ya soon. I have lots of new miniatures to show!

Monday, November 29, 2010

BANNER CONTEST ENTRY!

Hello again.

Not any new miniatures pics. Sorry. But now I can show you (because yesterday , I couldn't) my entry to the banner contest that's running by Dark Future Games, a cool and well-known blog I've been following for a while.

The rules of the contest can be read HERE, and the entries, RIGHT HERE.
Mine is the 6th entry, the one with the Dark Inquisitor, as said by Old School Terminator.


I also made 2 variants for my entry: the same banner but using their classic description, and also without any description (thinking about when DFG decides to change it somewhen in the future).

And last but not least, I added 2 variants for a favicon. I found favicon quite fancy, and DFG didn't have one yet. Quite simple, but nice looking, aren't they?


Well, I think Old School Terminator and his budies are the ones who will decide who wins, but I will appreciate some support in the comments sections =3
What do you think? Who should win? Say it in the entries anouncement post, in DFG!

Sunday, November 14, 2010

HOBBY TIP: Glue Applicator

Hi again.
This time I've decided not to post "another" WIP. I was the kind of hobbyst who worked endlessly until the project was finished before starting another. Now I realized that I've got:
- a bunch of unfinished marauders (waiting for green and grey stuff to arrive to scultp some things)
- partly assembled 15-man Chaos Chosen unit (waiting... to have time?)
- 2 unfinished Chaos Chariots (that I haven't finished because... the last time I tried, my room was 5ºC and the paint took forever to dry, then I went to sleep)
- a 15-man Chaos Warriors unit (unfinished, because of the standard icon that I haven't painted, yet)
- another 15-man Chaos Warriors unit (finished, but using old paint scheme, now waiting to repaint the cloaks)

This is unacceptable. Or was.
At least, so I considered until the beginning of this year xD
Well, too much depressing blah blah. Let me show you how to make a quick glue applicator:

To make one of this useful -and barely known- tool you will need:
- seweing needle (a big one will be better)
- pliers
- handle (optional, but useful)

Well, all you need is to cut the first third of the needle head with your pliers, to achieve something like this:

As you can imagine, the idea is to catch very small amounts of glue there, right in that "U" in the top of the needle. If you have a dead pen, a wood stick, or any other thing that would work as handle, go ahead!
I used this handle, wich belonged to a chisel I used when I was 12 years old xD


With this tool, you'll be able to use your glue in those areas where you need very small amounts. There are a lot of bits that shouldn't be glued with too much glue (as you should know, not always more glue it's the best solution when gluing).

That's it! The repaired model, the champion of the Chaos Warriors unit I told before, that were waiting for repainted cloaks. Now, with his additional sword in place, as well as his spiked knee.
Until next time, hopefully, with something finished!

Monday, November 8, 2010

WIP: Building my paint rack(s)!

Yup. Another WIP, I know.

I'm quite busy those days, trying to close the academic year and passing all my subjects xD

Well, in the meantime (hoping to have a little more time to paint/play/convert/finish all those WIPs), let me show you the device that will hold all my paints (hopefully, soon) wich I had begin building last week:


To build this one (that's unfinished, BTW) I used a single 1x2" wood stick, a box of 1 1/2" screws and a silly amount of plastic tube clamps. If you click in the image, you'll see that the grey things that hold the pots are just those clamps used to attach tubes on the roofs/walls. =D

How did I get to these idea? Quite curious.
Wasting my time on the internet, I found the amazing Miniature Scenery racks. Yeah, they are freaking AMAZING. You have just to glue them and voilà! The thing is I don't have 250+ USD to buy such an amazing combo of racks, neither the space to field it. After realizing that, one day walking on the street, I passed near an Rexel Electra shop. I saw the glass cabinet trhough the window and discovered those things. No idea how to call them in english. I bought one (yeah, one! think in the face of the seller) to measure and run some tests. Short story: size A was to small for the citadel pots and size B was much too big and it would be a waste of space.

So, I thought about changing all those awkward pots for dropper bottles. I use to dilute a bit my paints, and I like mixing them. And I hate wasting things. Don't get me wrong, it is not about being Scrooge, it is about control, and not wasting insane amounts of paint, letting it dry in those horrible pots!
I found cheap empty dropper bottles here in Chile (in another city, BTW) and buy some to try them.
They fitted pretty OK in the clamps, but I didn't liked how it turned out with the paint. As you can see, the paint tend to stay in the inner walls of the bottles, just like in the citadel pots, promoting the paint to dry faster. And I also didn't like the size of the drops; it was just too much paint for one drop.

Well, I always hated the screw tops paint pots and loved the old old OLD citadel paint pots, back from the years of the 2nd or 3rd editions of WHFB. After some research, I confirmed that nowadays, Coat d'Amrs, Privateer Press and Wargammes Foundry still use those amazing paint pots.
Quite... THE SAME!!

So, I decided to discard the idea of the dropper bottles and try to get the pots I always loved xD
I started searching for anyone selling the pots, empty with a price more affordable than the ones from CdA (5 pounds for 10 pots +30% for shipping O.o!). A very nice user from Warseer, Verm1s, told me (in a thread I started in WS) about an oline shop that sell the pots for only 0,21 pounds each (if buying more than 100, that is my case).

The thing is, that *@#€&! store don't want to sell me, the 120 pots I want, because they only send to Europe and the US. ¬¬U
I'm now thinking what to do in order to be able to buy these freaking pots!! I don't have any relatives over there and after begging the chick from the store to let me buy the pots, all I got was:

I'm afraid we only post these pots to Europe.

Sorry,

Linda


Well, in the meantime, while figuring it out, I'll be able to complete the rack and build its sister!
I intend to add 2 or 3 more ranks, to make the rack hold 51 or 60 pots. I haven't decided yet, but I think I will make two 60-pots racks, in order to have all my paints there and enough room for the next 20 colours I would like to buy in the near future.

What do you think about it? Have you ever build a rack for your paints? What do you think about mine?
Any idea on what should I do to buy the pots? 51, 60 or 68 pots per rack?

See ya next time!!
Related Posts Plugin for WordPress, Blogger...