Sunday, December 27, 2009

WIP: Dwarf Warriors Unit 1

As I said, I'm still working in this comission work.
I said the owner I was finally 100% ready with the paintjob. Sadly, that's was not true. I forgot completely the conversion work I must do. Now I'm working with the forgotten shoulderpads.


Next time I'll be showing the final pics. Maybe not 100% ready, because of the modular movement trays that hasn't arrived yet. Anyways, see ya!

Friday, December 25, 2009

(December's) Contest Entry: Chaos Knight Champion

Hi!

This is decembers entry for the recurrent painting contest in RO.

It's a chaos knight champion. The theme of this month was "unit champions", that's why I've chosen this one. It's manufactured by Gamezone; a spanish fantasy miniature company.


Now I'm working in the comission work from last month (actually, from October). I feel really ashamed because of this. I would really like to have more time to finish this project earlier.

See ya soon. Next time (hopefully!) with pics of those dwarf warriors!

Monday, December 21, 2009

TUTORIAL: Mould Making, part 2

Now it's time to show part 2 of this tutorial.

OK, we were waiting the silicone to cure. Now, 24 (or more) hours later, it's done, so, you must remove the plasticine and wash with water.Then, I've turned the hemi-molds upside down and built the LEGO boxes.


Before finishing the boxes, use the vaseline or lubricant and apply a thin layer over your bit and mold. This is made to avoid the uncured silicone to stick to the cured silicone.


Then I prepared the mix and repeated the process.

Then again, wait another 24 hours. And voilà!


Now it was time to arrange and fix the molds. Cut the flashs, cut every bit own mold, and the most important, cut holes to pour the resin.

Before anything else, measure how much resin you will use, with water. With another syringe pour water to know exactly how much resin you need. Always add half a ml. Anyways, if you add less than the amount you need, you can add resin later, after cured. That's a very useful property (and I'll explain later what you can do with this!)

It's very important to let dry this mould (the one you used to measute with water) before casting. The resin is not very friendly with water. Actually, the water it's the unfriendly. With the help of a hairdryer and a towel, make sure your mold is completely dry. Now, it's setup time. With the help of more LEGO or rubber bands, set up all your molds and materials before continuing.

Label your syringes and things to avoid confusion. Also, if you extract resin with the wrong syring, then you can say good bye to all you bottle of resin!

It's also important to have a watch. You will have only 30 seconds to do the mix, and 90 to pour it in all your molds!

Carefully but at high speed, mix the part A with part B and pour it through the holes of the molds! Be sure no to make more resin than you need. In this case, I needed 1,5ml per mold. So, I should used 3ml for 2 casts and 6ml for the four molds. But I've added 2 ml just in case (0,25ml more per mold). After casting I've learned that if you measure 1,5 ml, then you should use 1,51ml.
 

Then, you have plenty of time to drink a cold soda, or watch something stupid in youtube, or to write something in a blog.


It's important to write what time it is when finishing the pouring. Then, you must wait 15-20 minutes before opening the molds. Before opening them, clean off the resin from your vessel. This will tell you if your casts are finished or if they are nearly finishing the curing process.


Open your molds.


Clean the flash and d voilà!

Finally! They are ready! These are the first 4 pair of legs for my chaos marauders units. Now I only need 84 more! HAHAHA!

See ya! Next time (I hope) with the finished pics of my latest comission work and/or with the third part of this tutorial!

Tuesday, December 8, 2009

TUTORIAL: Mould Making, part 1

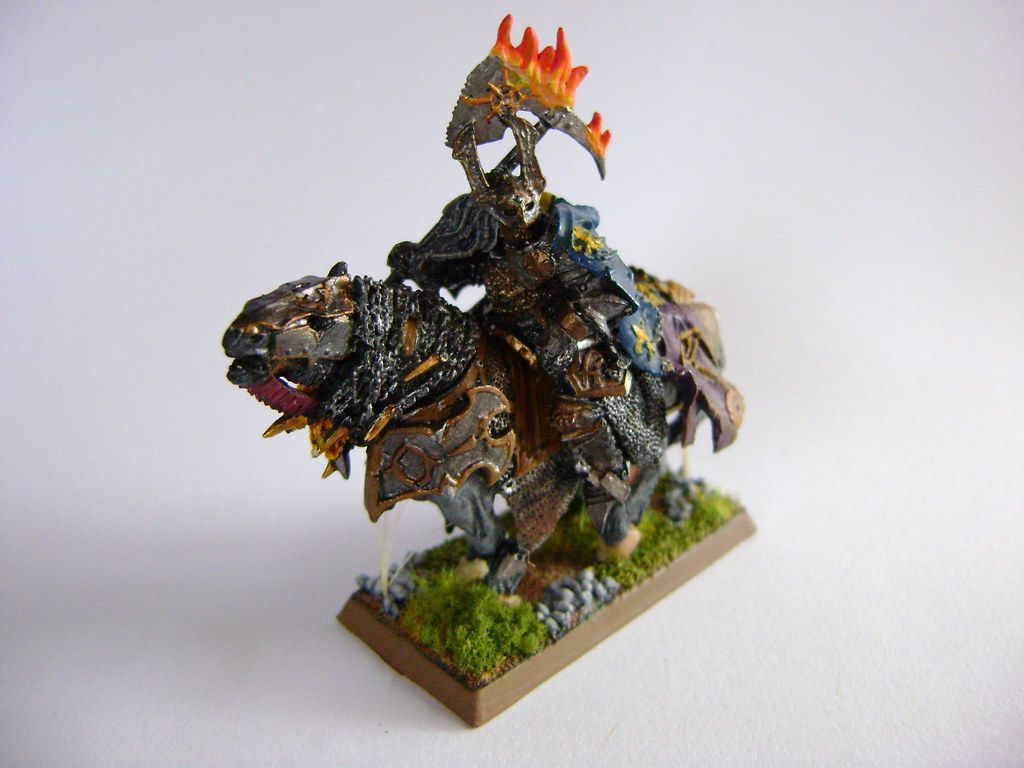
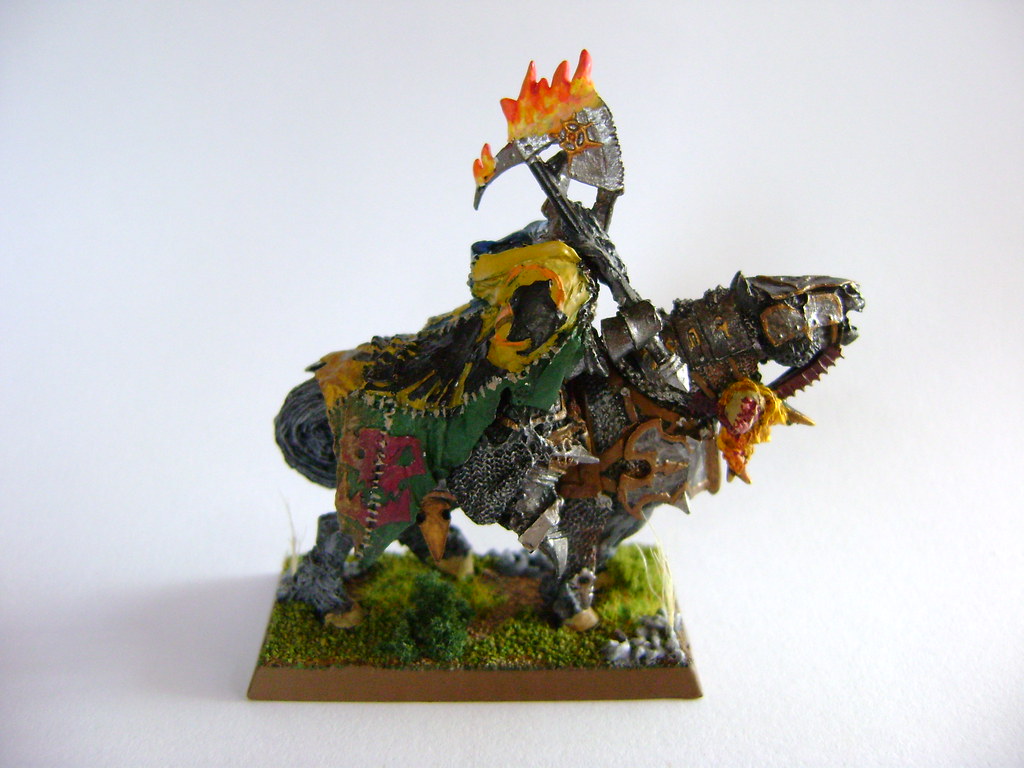
Yes. I've previously stated I would be posting my entry for the recurrent painting contest. I know. But... at the end, it was such a FAIL, that I decided to wait until I can get some better pics. My pictures were such crap, that my mate Lemon (the owner of the dwarf I converted/painted) tried to make better ones. They were better than mine, but not as good as other pics from the 13 other entries! I scored 0 votes, LOL! Anyways, this month were better entries than last one, and at least the one who won din't by default.

So... after this explanation, will I show you some kind of tutorial about mould making and resin casting.
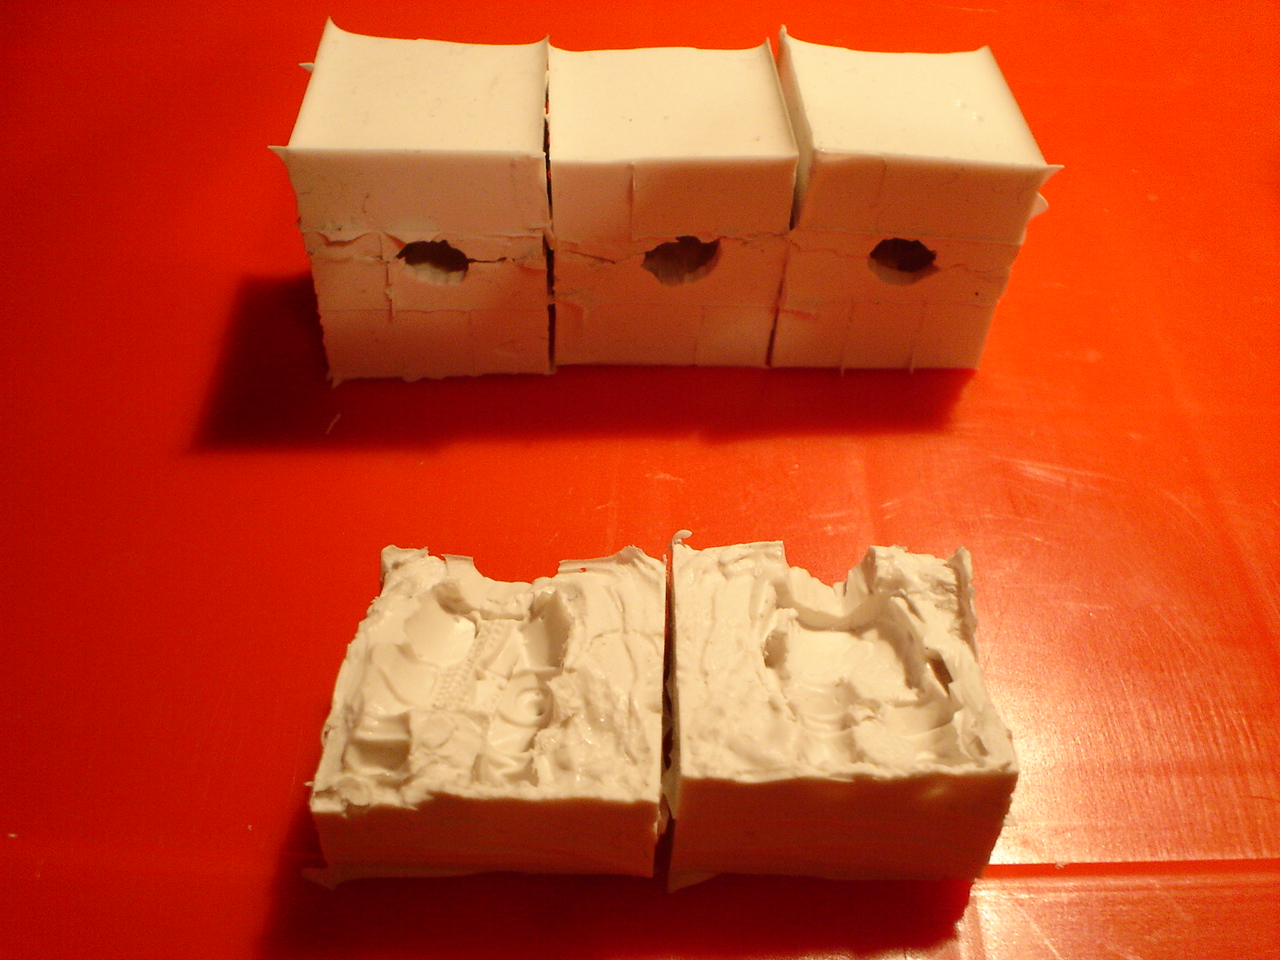
In this part, I'll show how to make a "hemi-mould", or the half of a mould.
I think that the pics speak for themselves, but I'll add some words anyways.

Let's begin.
First, what do you need:
- LEGO pieces
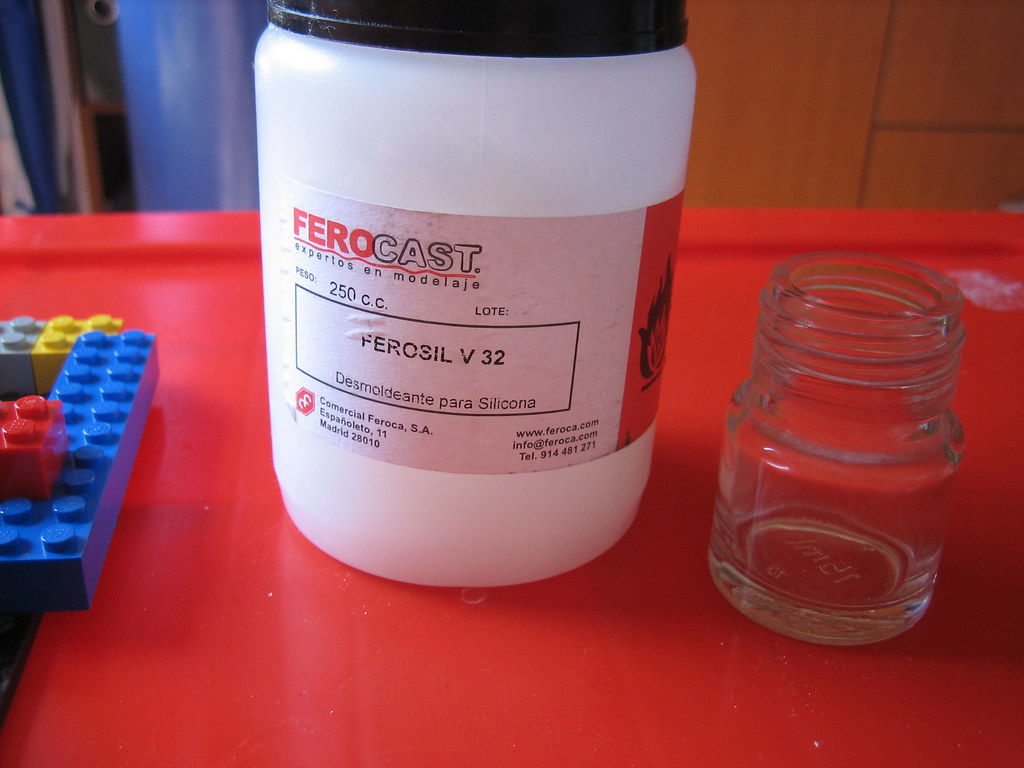
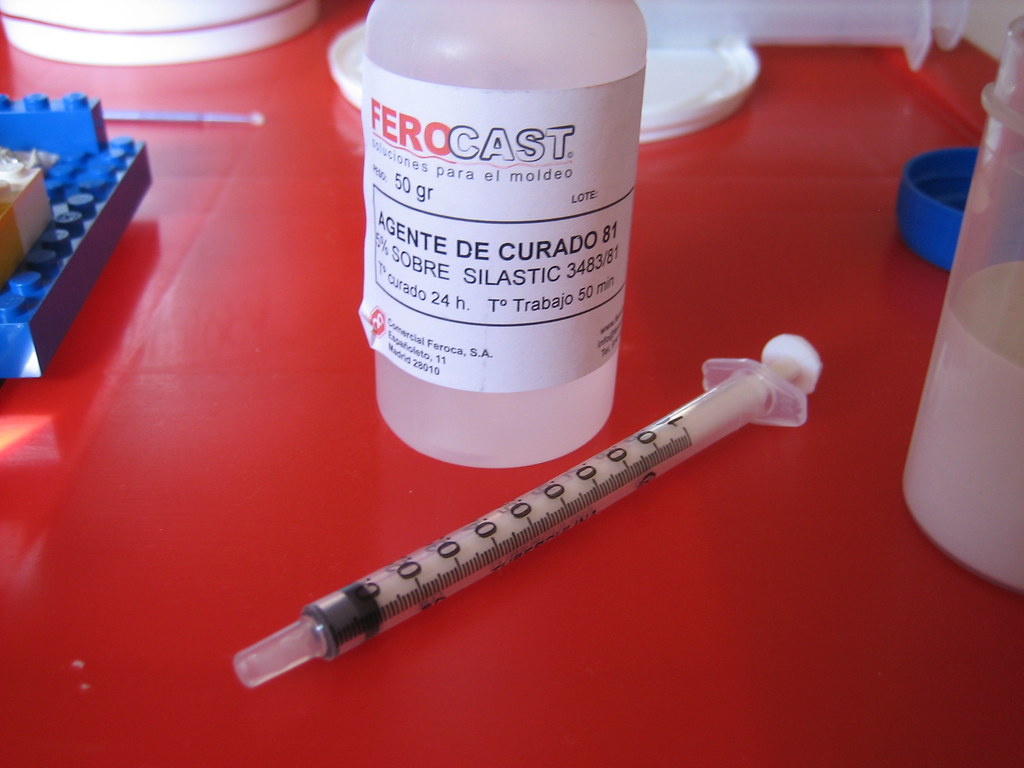
- Silicone and activator
- Resin and activator
- Vaselin
- Plasticine
- A stick or something to add the vaseline
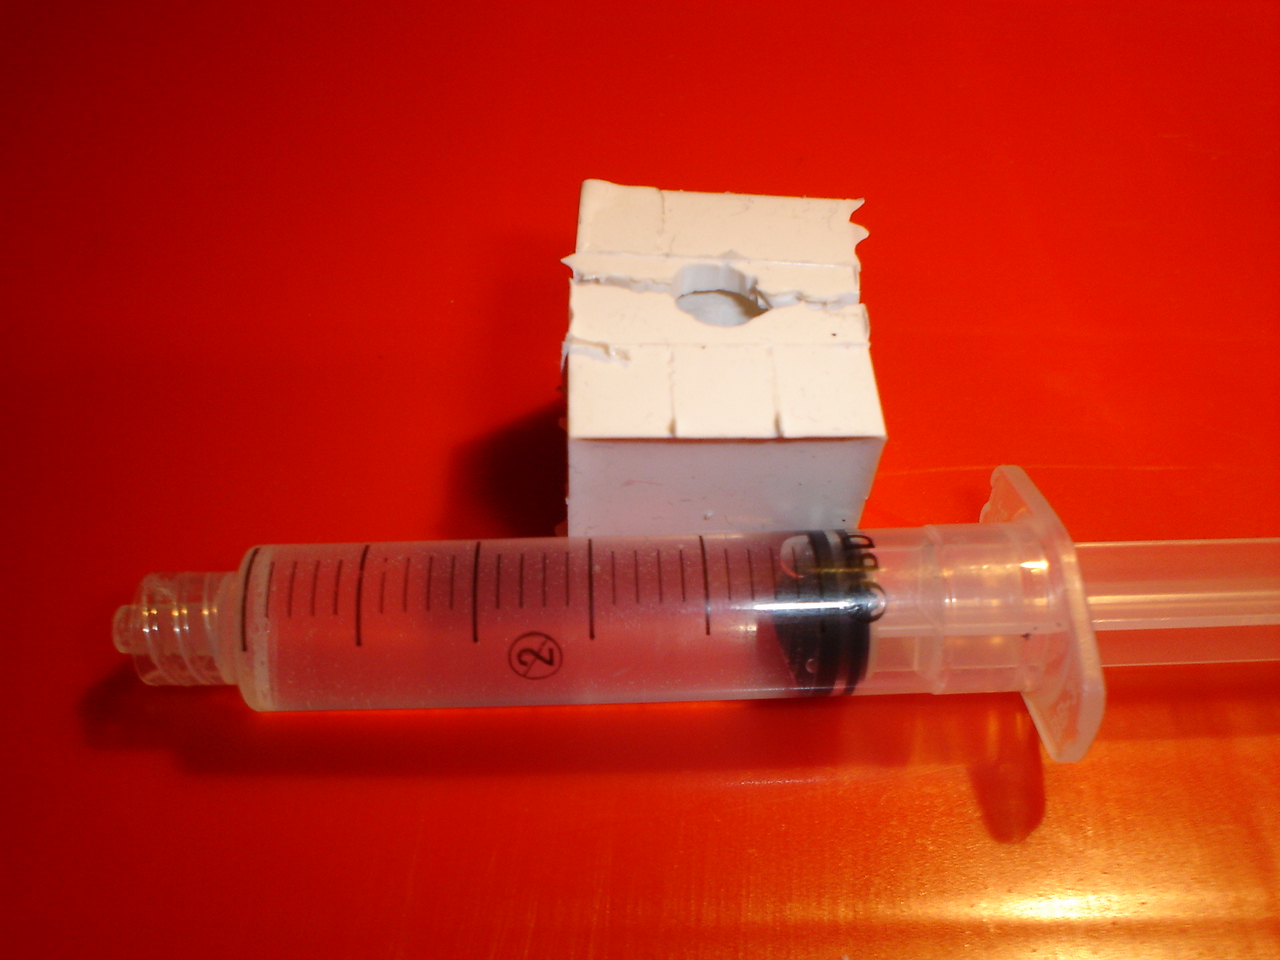
- Big syringe and little one too
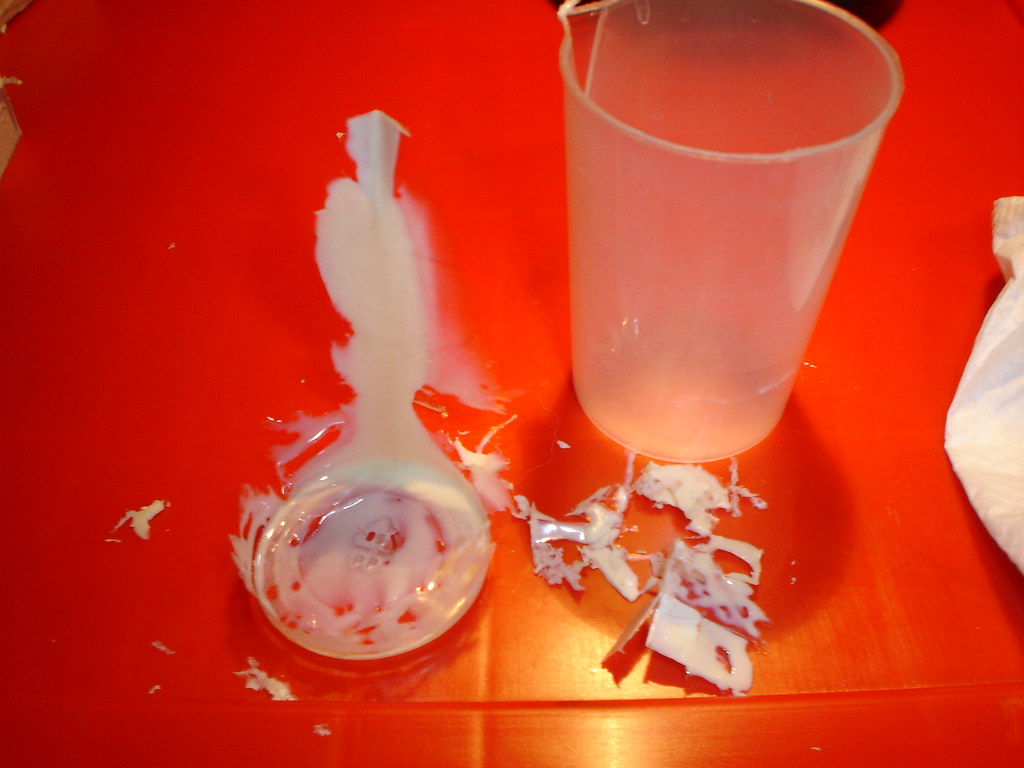
- Plastic container, glass or something where to mix the silicone and activator


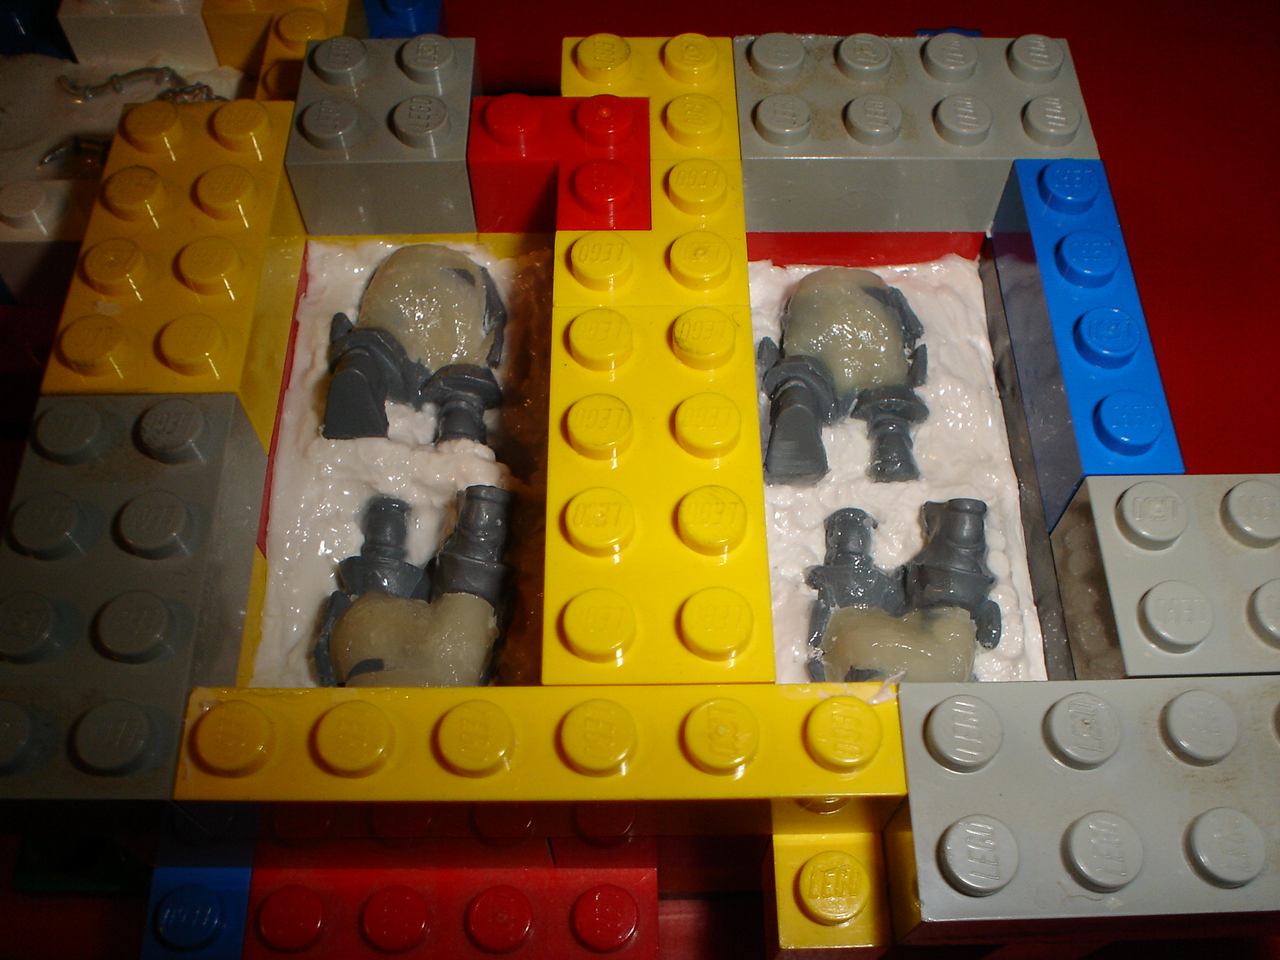
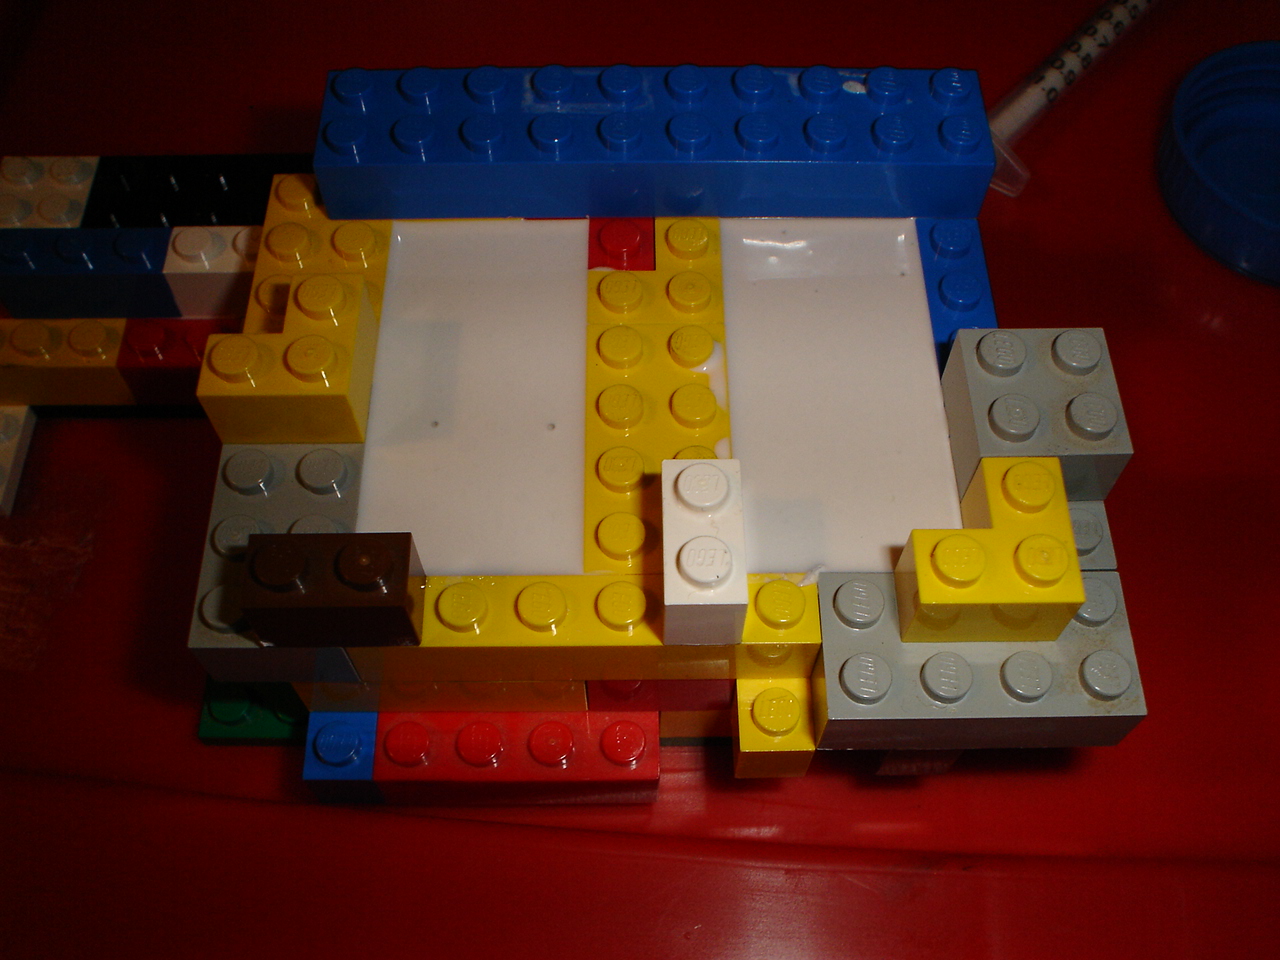
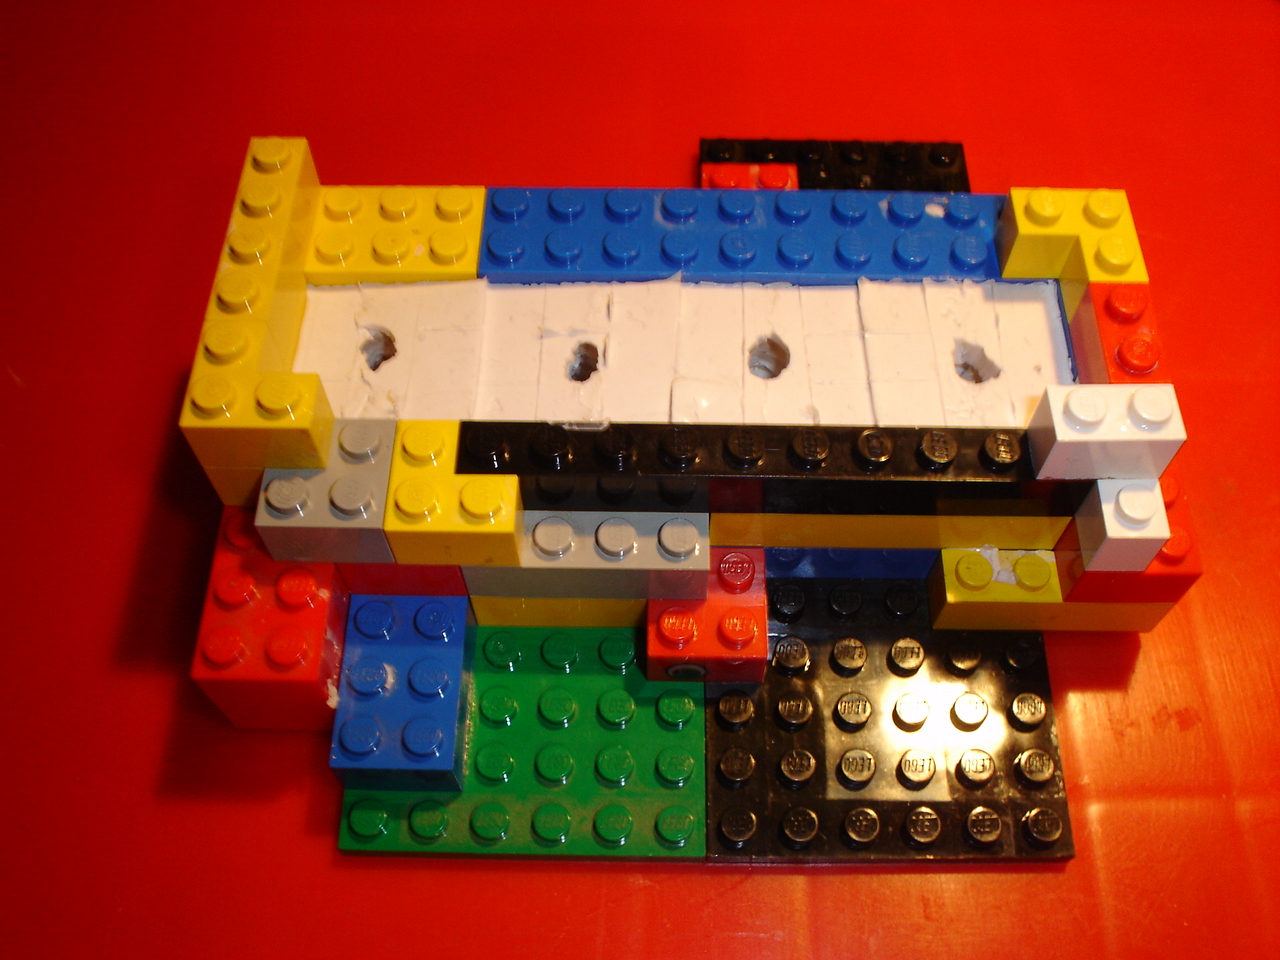
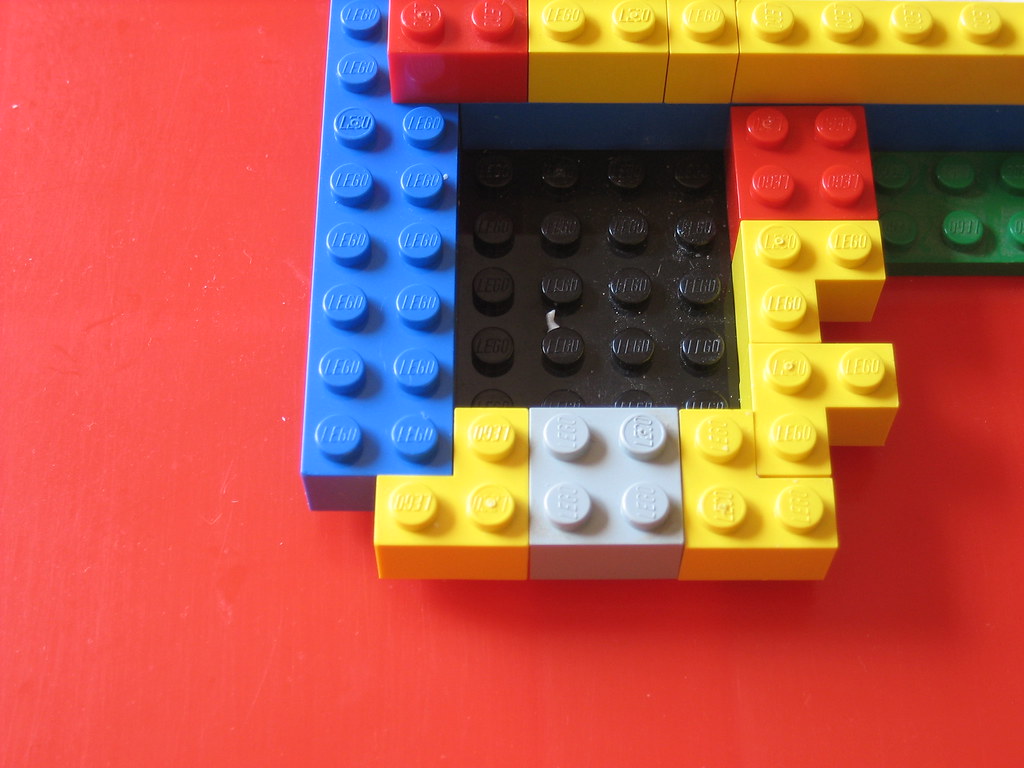
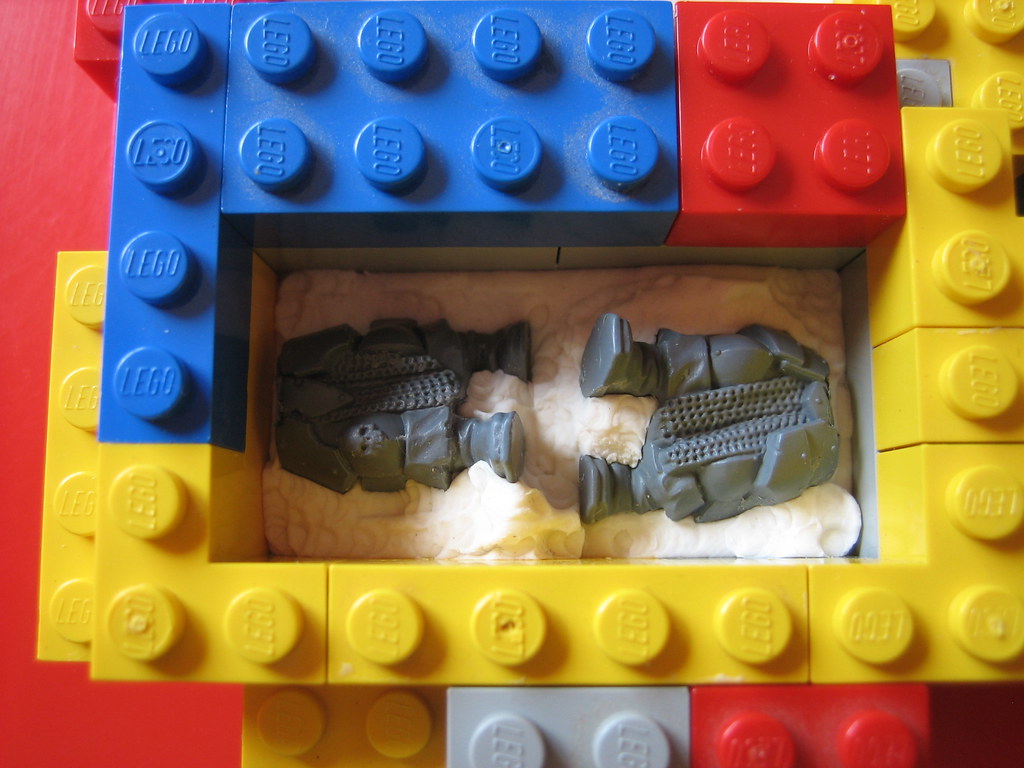
Begin making a place with the LEGO cubes for the piece or bit you want to replicate.


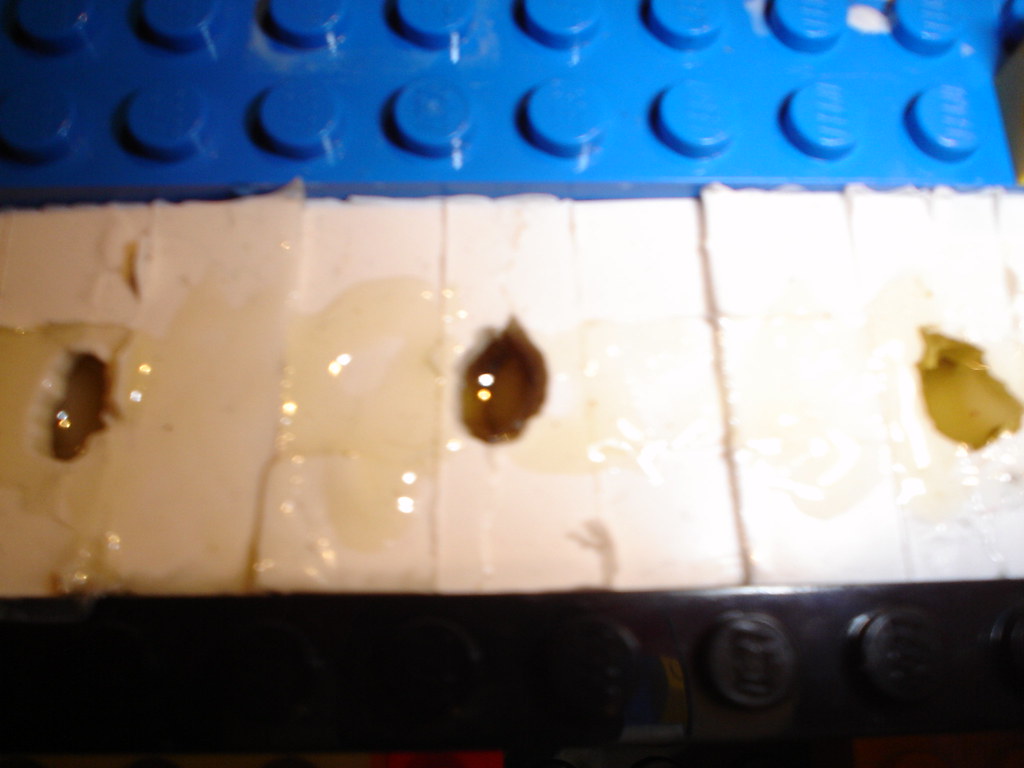
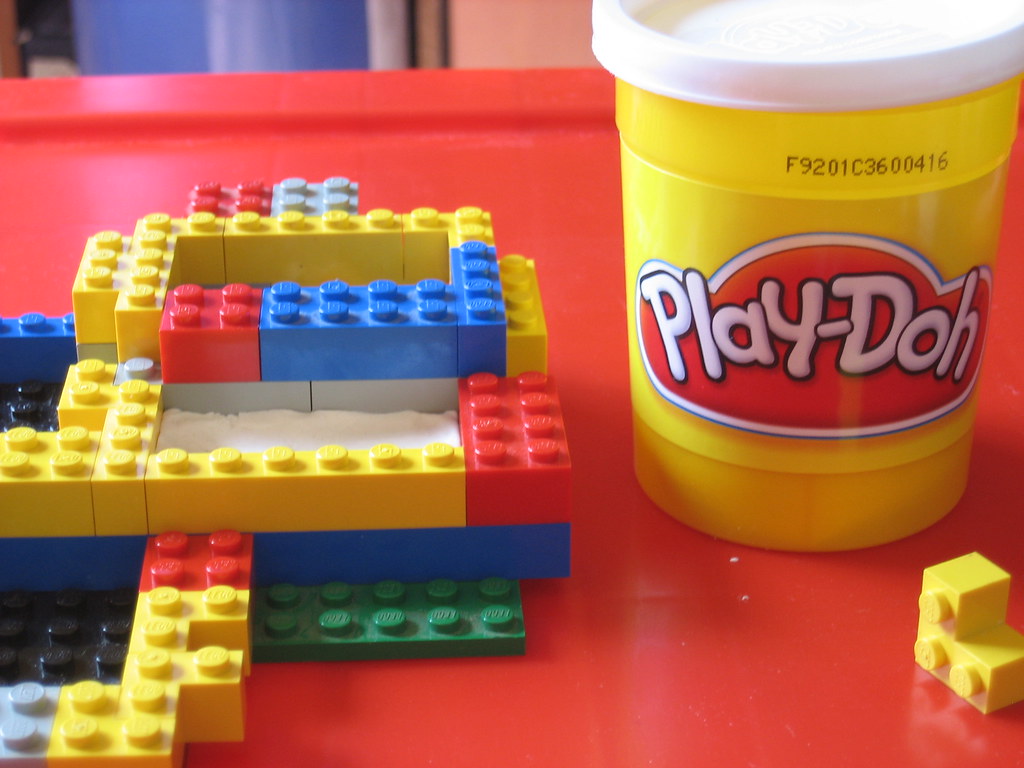
Then, add plasticine in to the "box". I use Play-Doh because it's cheap, you can let it dry and remove it easily. If you want, you can try other alcohol-soluble plasticines.

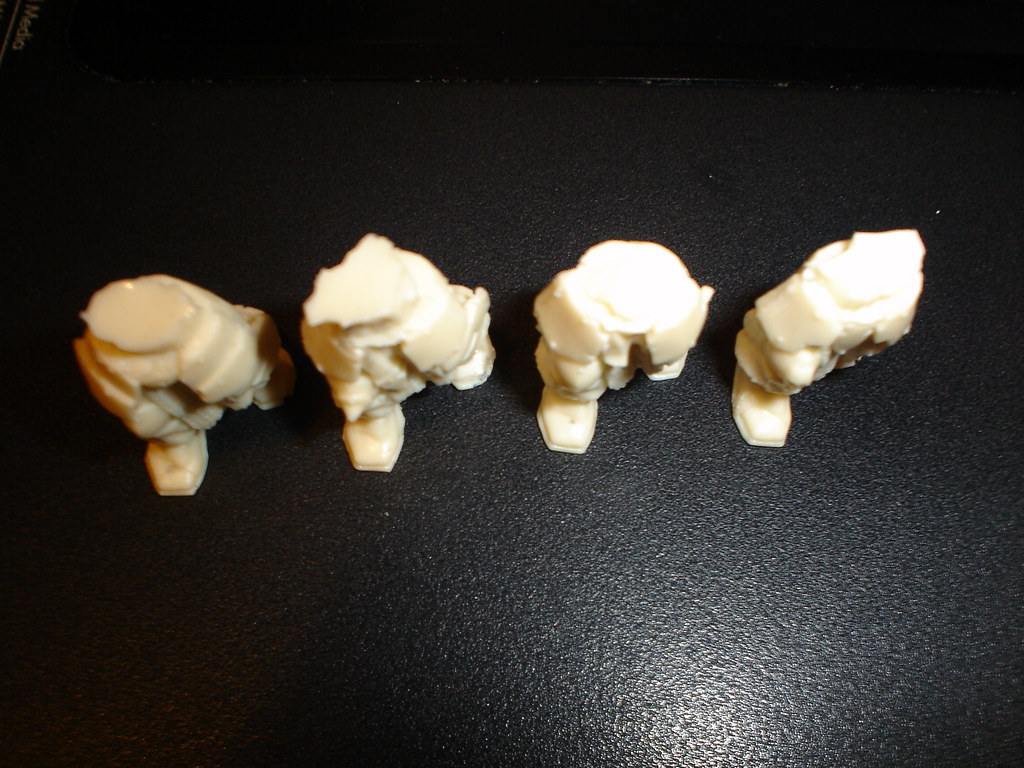
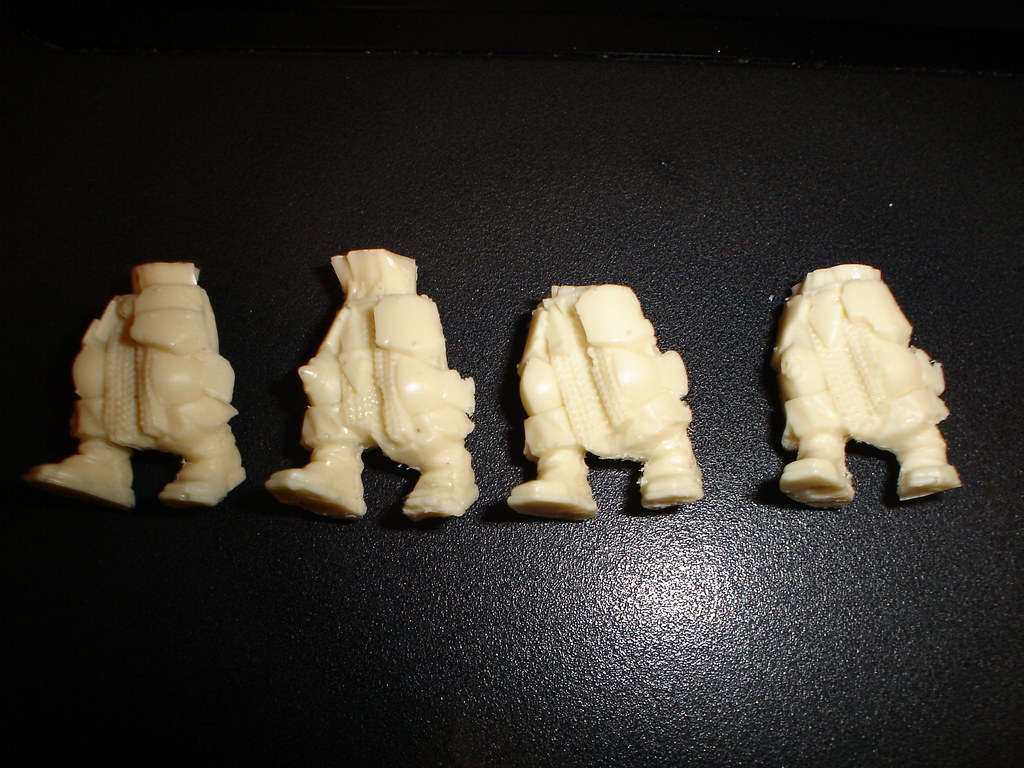
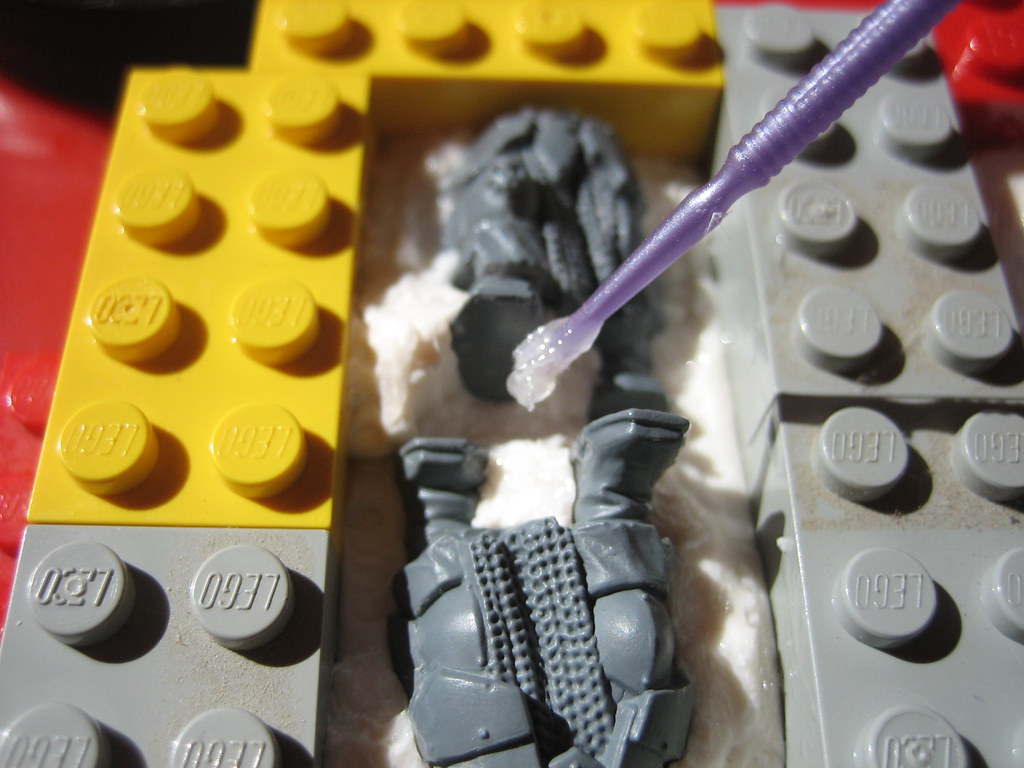
Put your mini/bit in there. Be careful to follow the original moulding lines. And try to clean them before. Get it?

The, cover the plasticine with some kind of lubricant. Vaseline works fine. Melted vaseline works better. Liquid Vaseline works even better. And if you can get some professional desmoldant, it's even better.

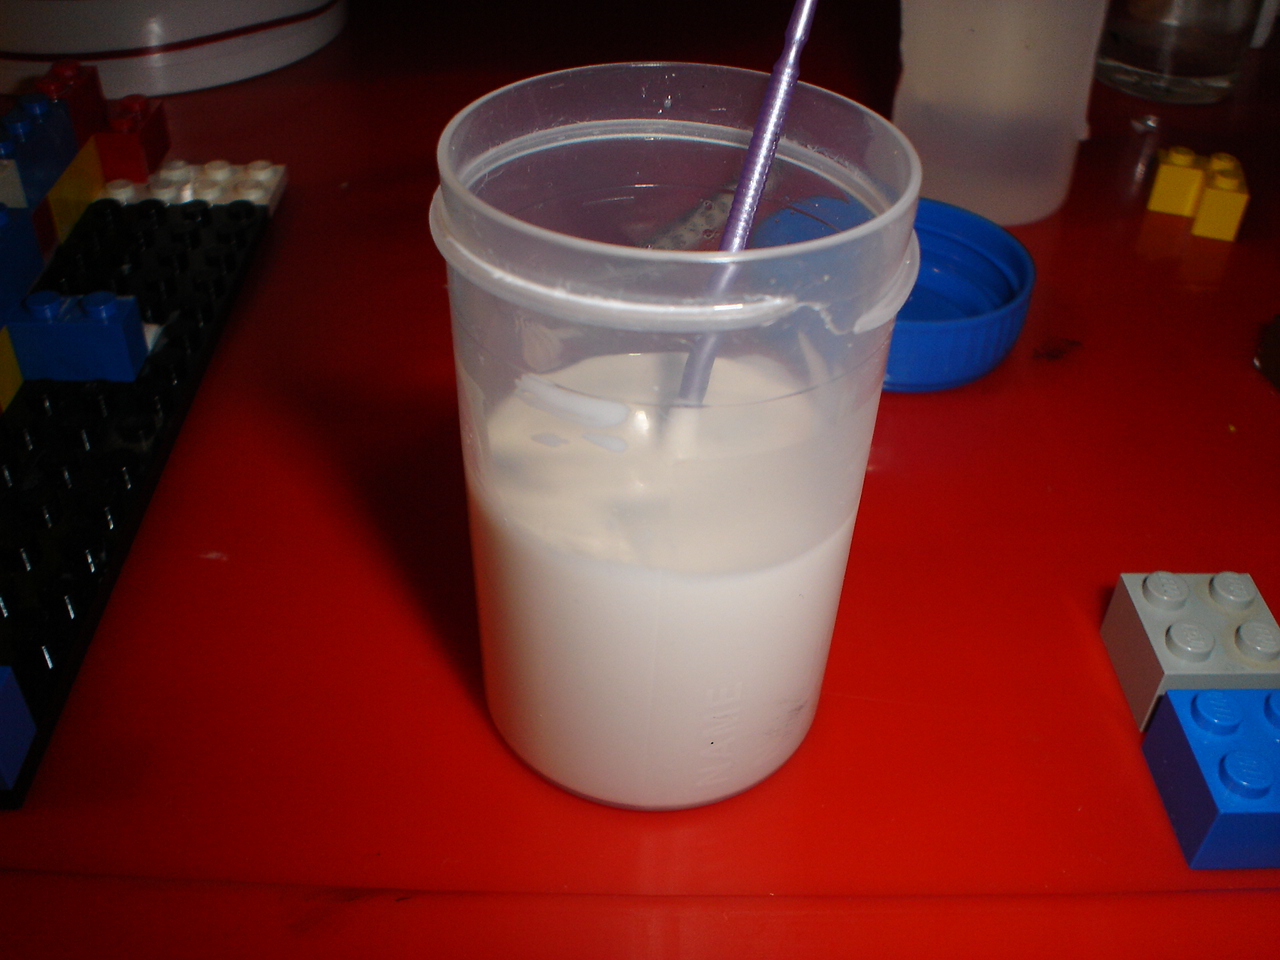
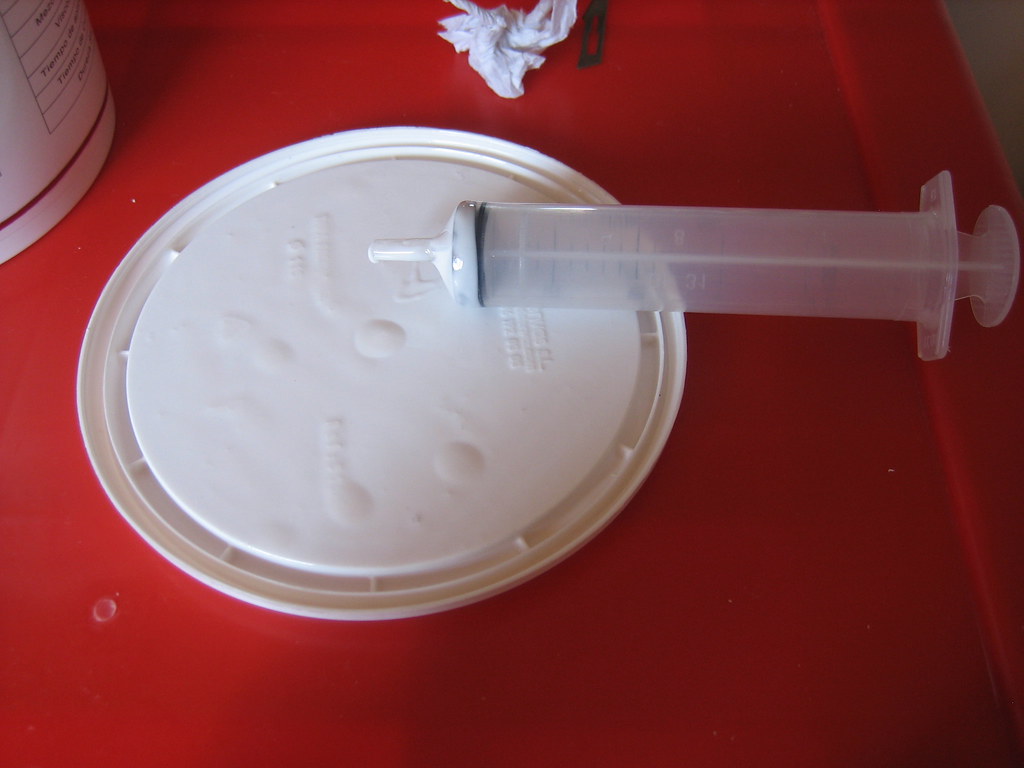
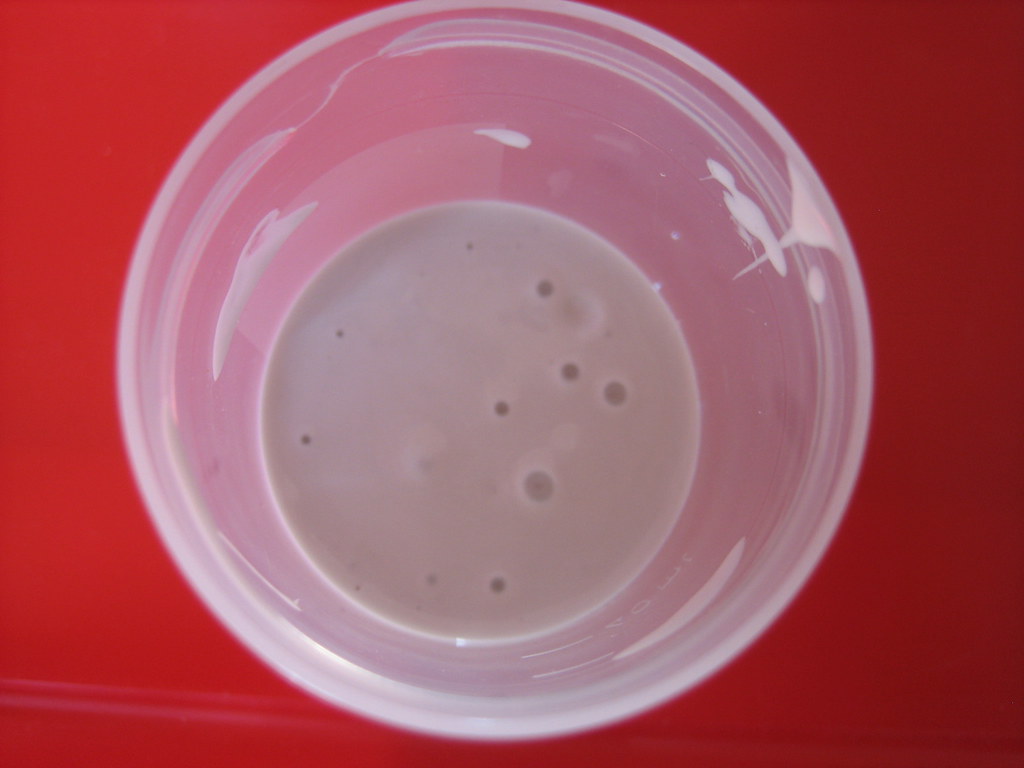
With a syringe (the big one) substract the amount of silicone you need and add it to yor container.

Let the silicone resting for about five minutes, to let the bubbles go out. If you can acces to a gypsum vibrator machine or something that vibrates (no, those things didn't work this time xD) you can get rid of the bubbles easier. If you don't, just wait a little.

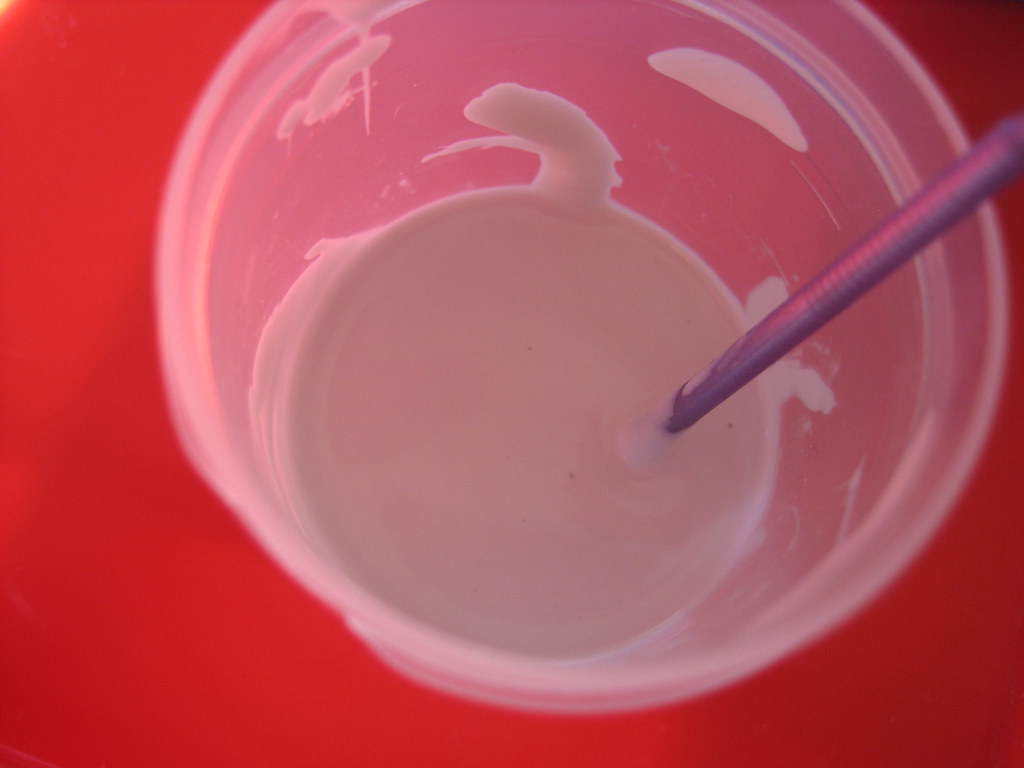
Then, with the little syringe substract the amount you need of activator. Mix vigorously.


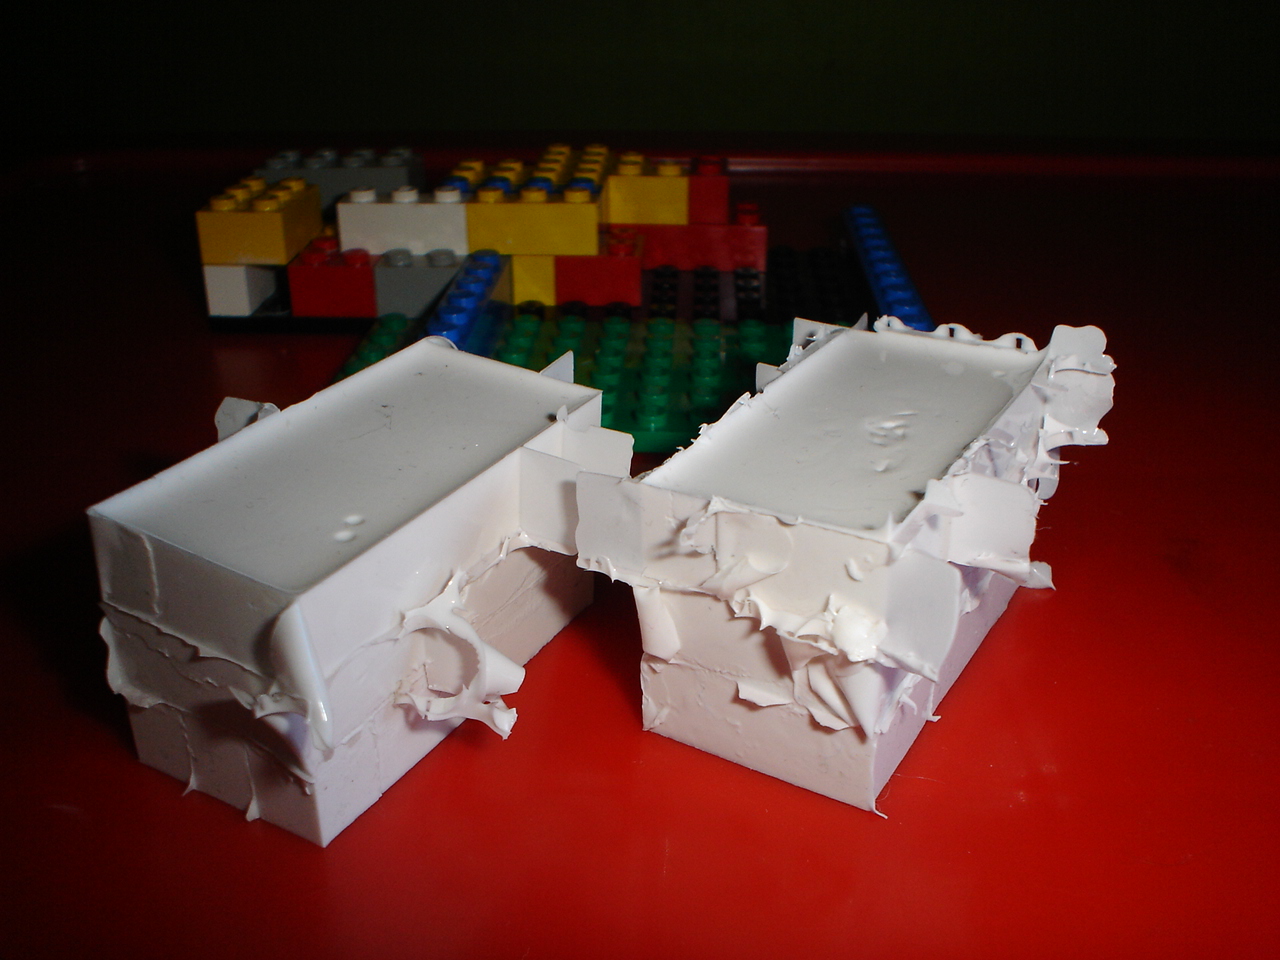
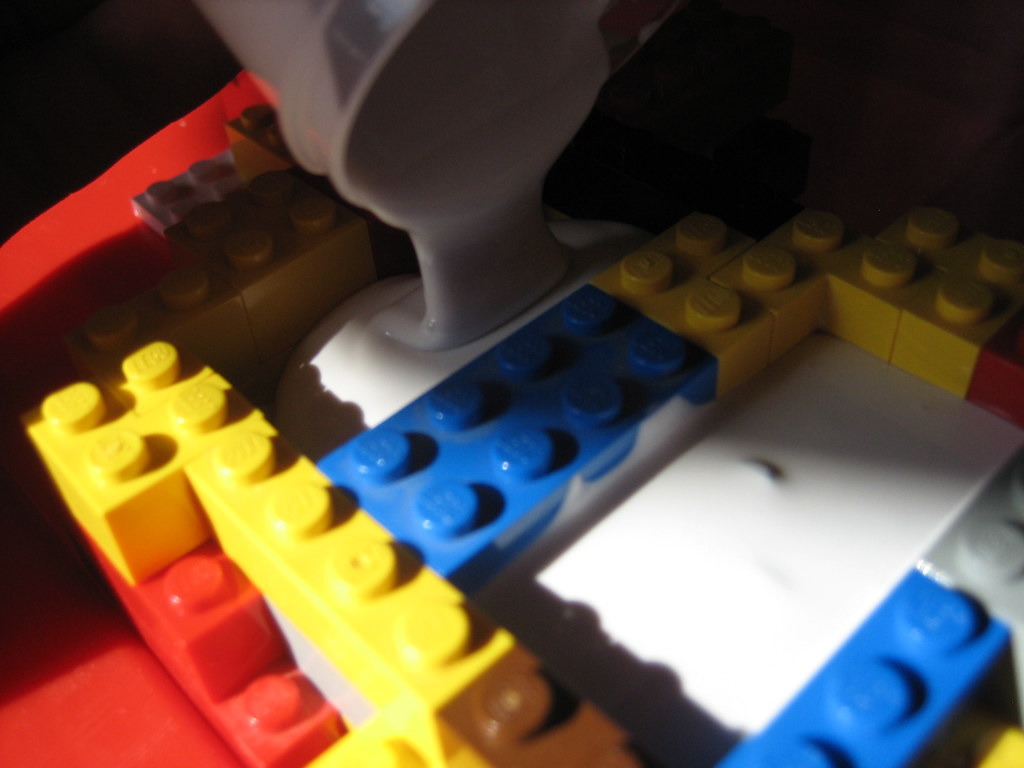
Pour your mix into the LEGO boxes. Before, you should add some LEGO cubes to the border of the boxes, in order to contain the mix and cover completely the bit or miniature.


That's it! Then you should wait 24 hours to let the silicone cure.

In this tutorial, I've avoided topics such as the silicone mixing and other hints and tips. This is only the first part, so, consider it "mould making 101"!

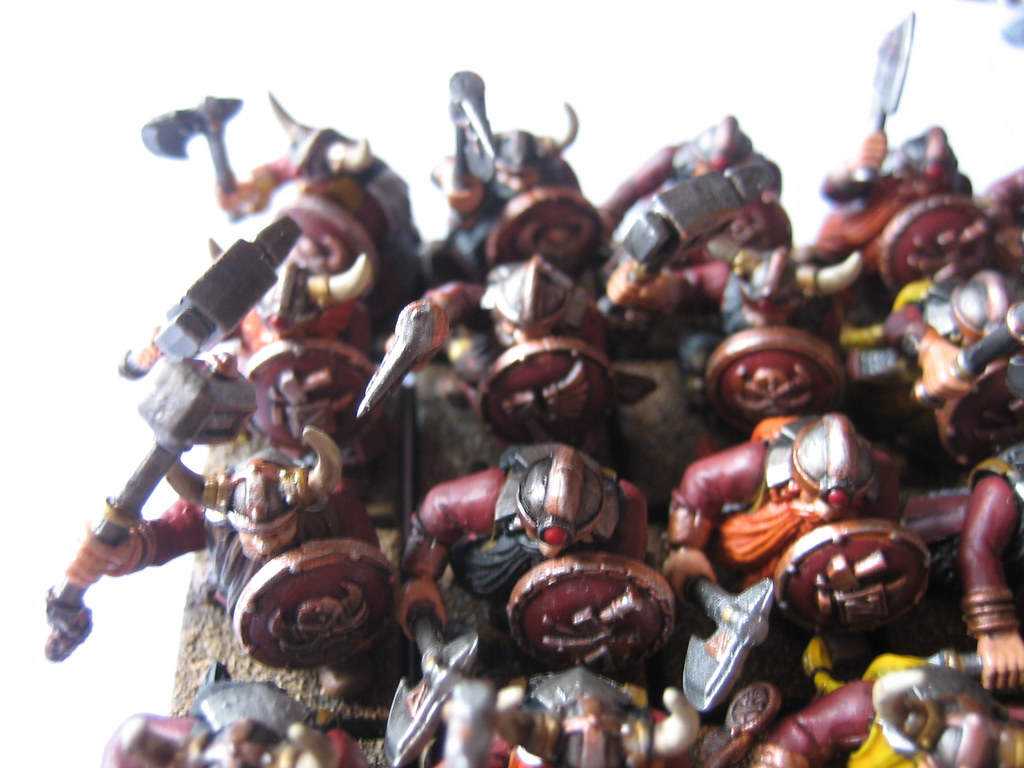
I'm also working now in another comission work. Once again, Dwarfs!
This time my job is to paint 25 Dwarf Clan Warriors with HW and shield for another friend.

Hopefully I'll be posting some WIP pics of those, now I'm finally "almost" done with their paintjob. Actually... I'm not, but that's what I said Topo about his dwarfs. I still must some things, and the magnetize their bases!

See ya soon.

Wednesday, November 25, 2009

SHOWCASE: Chaos Lord with additional Hand Weapon

Hi again!
Here it is an Avatars of War Chaos Lord that I've painted last month for a recurrent painting contest, from Reino de los Olvidados. I managed to paint it quickly (before the deadline, by a couple of minutes!) , to participate in this painting contest. As I said, it's a recurrent painting contest, with 5% disccount on the store for the winner each month as prize. The idea is, -more than the prize- to run this contest every month, to incentivate others players in my country to try painting a bit better than tabletop (o 3-colors-for-tourneys xD).

Ok, here is my entry from October!!


Well, in the end I really liked how I painted this one. But... in the contest...
I was vilely disqualified! LOL
The official photos must contain a surprise item (one different each month) and I took a pair of pictures of this Chaos Lord with the 10 CLP coin on the mini (not all the miniature was available to see in these pics), and then I took several ones (the pics above) without the stupid coin! The pics I took "to fulfill the requirements" weren't good to be the "official" ones. Same happened to another user of the forums. So, another user win the October contest by default!

Anyways, on the brightside:
- I liked how well this miniature turned out.
- The sculptor of this beauty liked my paintjob.
- At least I won the users choice!


This month, I converted and painted another AoW miniature. This time it's not for my beloved army; it was a comission work. I converted and painted an AoW Chaos Dwarf to a Dwarf Lord on Oathstone!
Now I must try to fix a bit the photos and send them for the contest. This month will be at least 7 participants, surely it will be more challenging! And NO, I haven't forgot this-month's-stupid-surprise-item!!
I've tried to make better pictures, but my efforts weren't rewarded yet. The owner of this commission took better pics, and that's what I would post in my next entry!


See ya soon!

Friday, November 13, 2009

Welcome to my Blog!

Well, how to start...
I've started with WHFB around 3 years ago, maybe 4, I don´t remeber it so clearly. Anyways, I've started last year, reading lots of WH-related blogs and thought I would like to have one to.
Time passed and I'd never enough time to start blogging.
Then, yesterday, a friend, online-store and forum owner and old hobbyst/gamer asked me if I would like to have a blog, attached to their website (www.reinodelosolvidados.cl) like him. I said I would, but then I couldn't afford to manage the WordPress blog format. Much more complicated for someone who hasn't ever had a blog before, lol.

So, here I am, starting a blog about Warhammer and things related.
I'll use it primary as showcase for my chaos army, but sadly, I'm a very slow painter. It's clear I'll post other thing too, because of the lack of info about my army!

Well... lets get started!
This one is a Tzeentch Lord on Disc I've painted almost 1-2 years ago.
Those days I had less than a third of the colours I own now, and less than a half of the practice I have nowadays. Also, the photos are crap, sorry. Maybe when I have re-painted it, I'll try to make better pictures, but now, that's it:


As I said, sorry for the crappy pics. I promise I'll learn how to take better ones!

See ya! (I hope, soon!)
Related Posts Plugin for WordPress, Blogger...