This time I've decided not to post "another" WIP. I was the kind of hobbyst who worked endlessly until the project was finished before starting another. Now I realized that I've got:
- a bunch of unfinished marauders (waiting for green and grey stuff to arrive to scultp some things)
- partly assembled 15-man Chaos Chosen unit (waiting... to have time?)
- 2 unfinished Chaos Chariots (that I haven't finished because... the last time I tried, my room was 5ºC and the paint took forever to dry, then I went to sleep)
- a 15-man Chaos Warriors unit (unfinished, because of the standard icon that I haven't painted, yet)
- another 15-man Chaos Warriors unit (finished, but using old paint scheme, now waiting to repaint the cloaks)
This is unacceptable. Or was.
At least, so I considered until the beginning of this year xD
Well, too much depressing blah blah. Let me show you how to make a quick glue applicator:
To make one of this useful -and barely known- tool you will need:
- seweing needle (a big one will be better)
- pliers
- handle (optional, but useful)

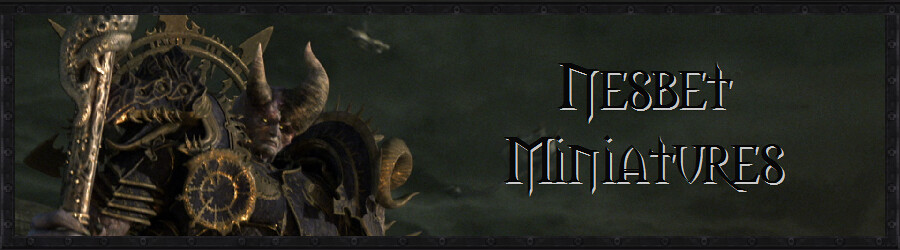
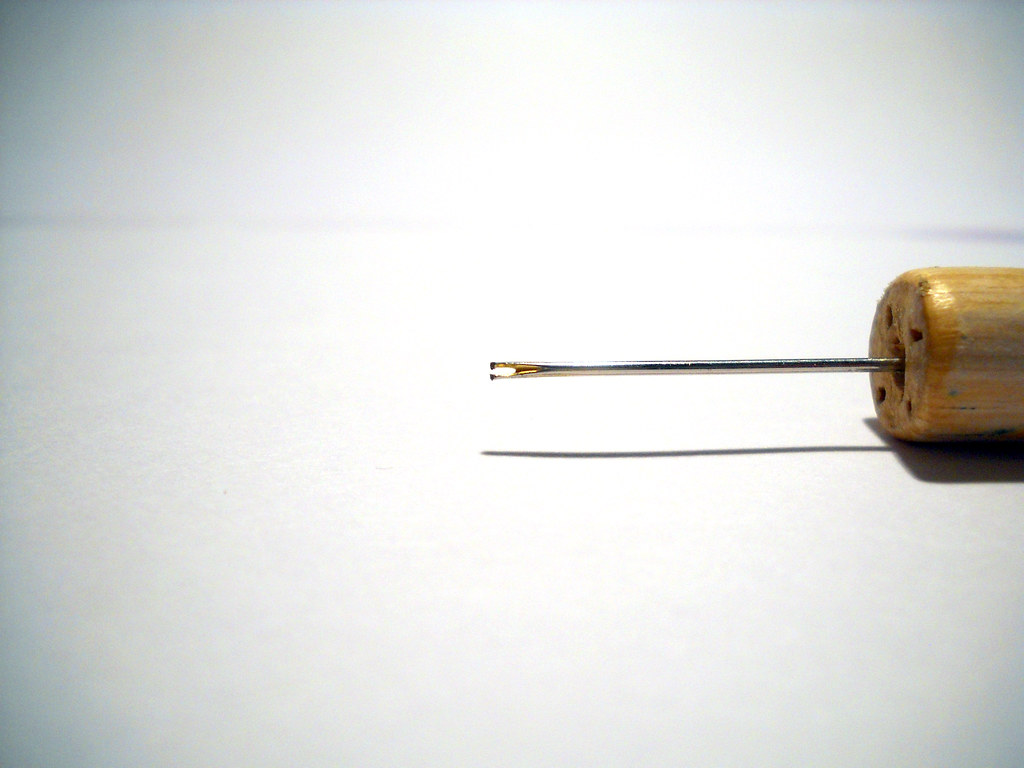
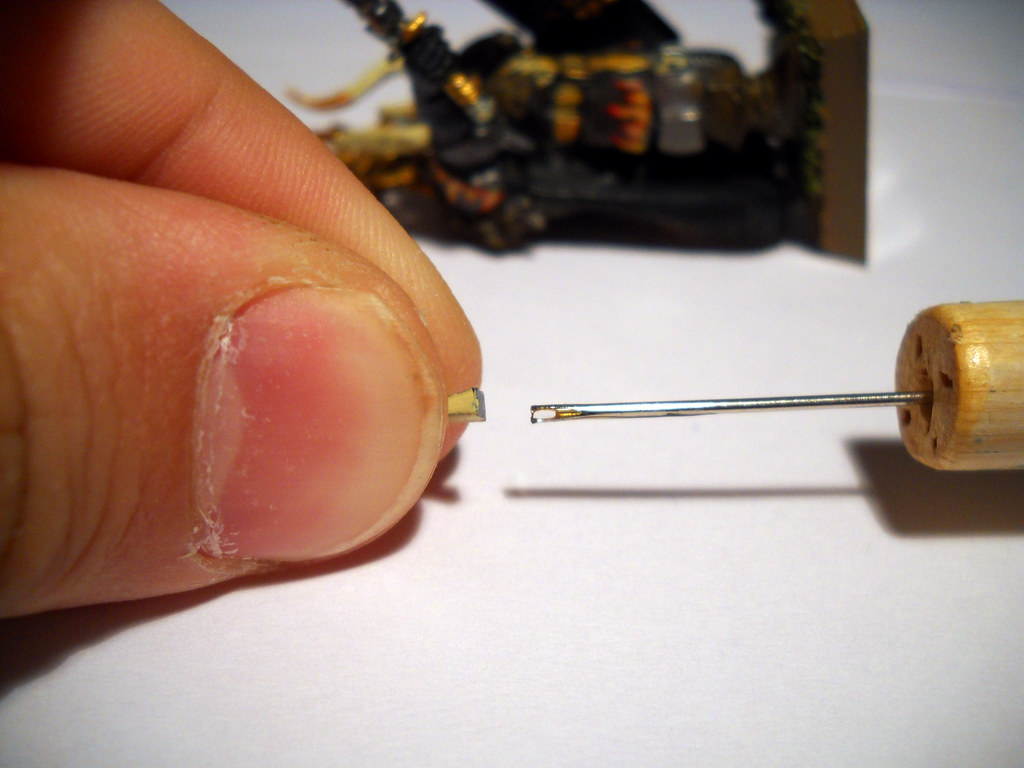
Well, all you need is to cut the first third of the needle head with your pliers, to achieve something like this:
As you can imagine, the idea is to catch very small amounts of glue there, right in that "U" in the top of the needle. If you have a dead pen, a wood stick, or any other thing that would work as handle, go ahead!
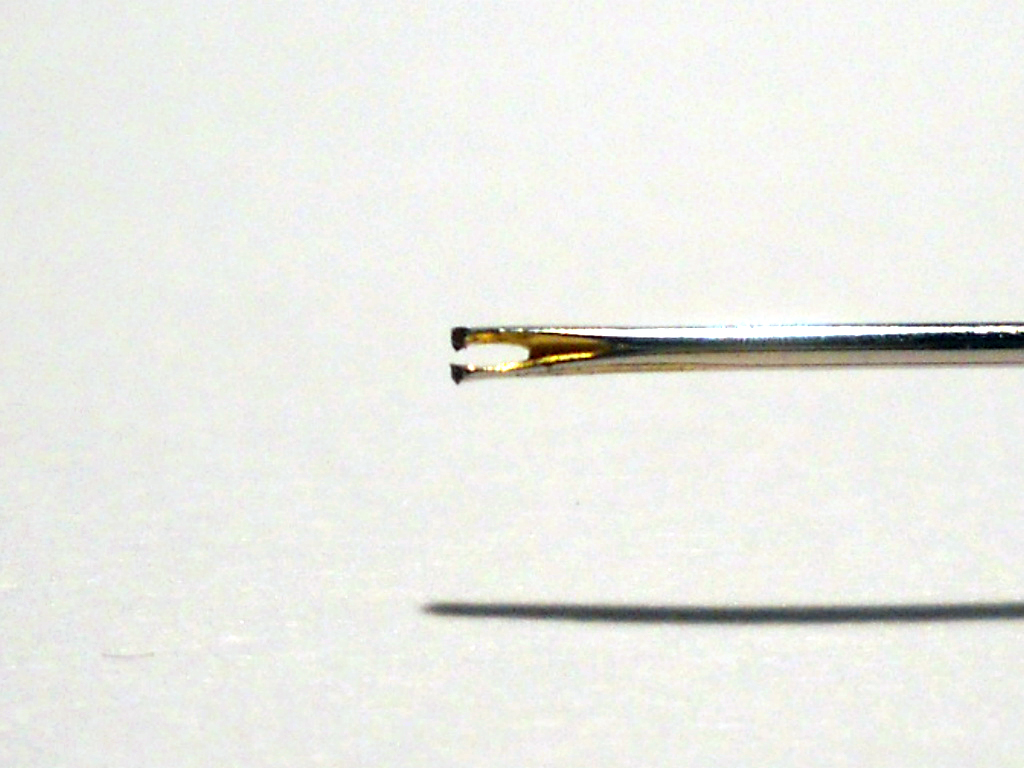
I used this handle, wich belonged to a chisel I used when I was 12 years old xD
With this tool, you'll be able to use your glue in those areas where you need very small amounts. There are a lot of bits that shouldn't be glued with too much glue (as you should know, not always more glue it's the best solution when gluing).

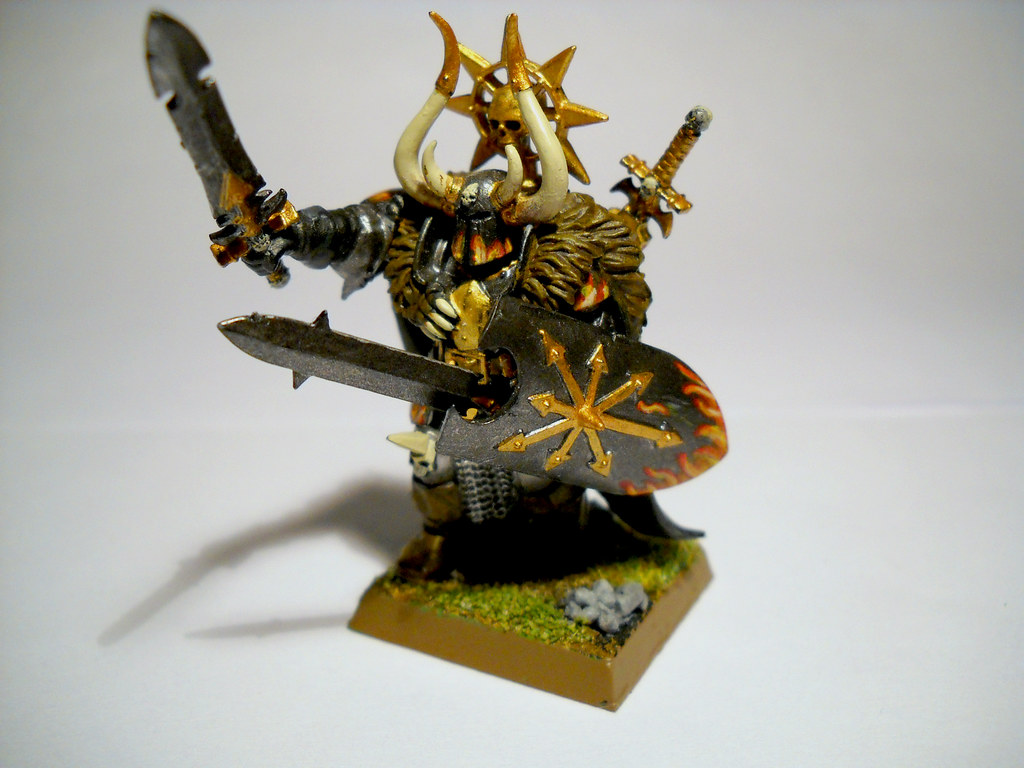
That's it! The repaired model, the champion of the Chaos Warriors unit I told before, that were waiting for repainted cloaks. Now, with his additional sword in place, as well as his spiked knee.
Until next time, hopefully, with something finished!
That's a great tip. I've struggled with this in the past, and never once considered an old needle (and certainly never considered to thread-end of the needle). Thanks for the great bit of advice.
ReplyDeleteGlad too see someone liked the tip!
ReplyDeleteI used a paper clip, almost "straight" for applicating glue, but it gave me just the same control than alcohol gives you to drive xD
And the glue tend to attach to the clip, making it every time bigger. I ended with lollipop-like applicators and had to cut the glue a lot of times.
Excellent recommendation, Nesbet! Thank you for the instructions on how to make one of these, that looks like a very handy tool. Being able to precisely apply a dab of glue would be so helpful, at times in the past I've even resorted to trying to blow a bead of glue into the right spot after initially misplacing it... a desperate measure indeed, and not very effective either. Thanks for the assistance!
ReplyDeleteYou're welcome!
ReplyDeleteI've learned (through glued-fingers and glue-related-disasters) that the solution for something plastic not gluing, is to use less glue (and for the metallics, PINS FTW!!!*). When screwing up your failed glue bits, all you must do is wait until it dries completely, then sand down and apply less glue.
*: And to achieve succesful pins with metallics bits, all you need is a LENTULO. Yeah, I'll write something about soon ;D
kuşadası
ReplyDeletemilas
çeşme
bağcılar
muğla
FVMJ3W